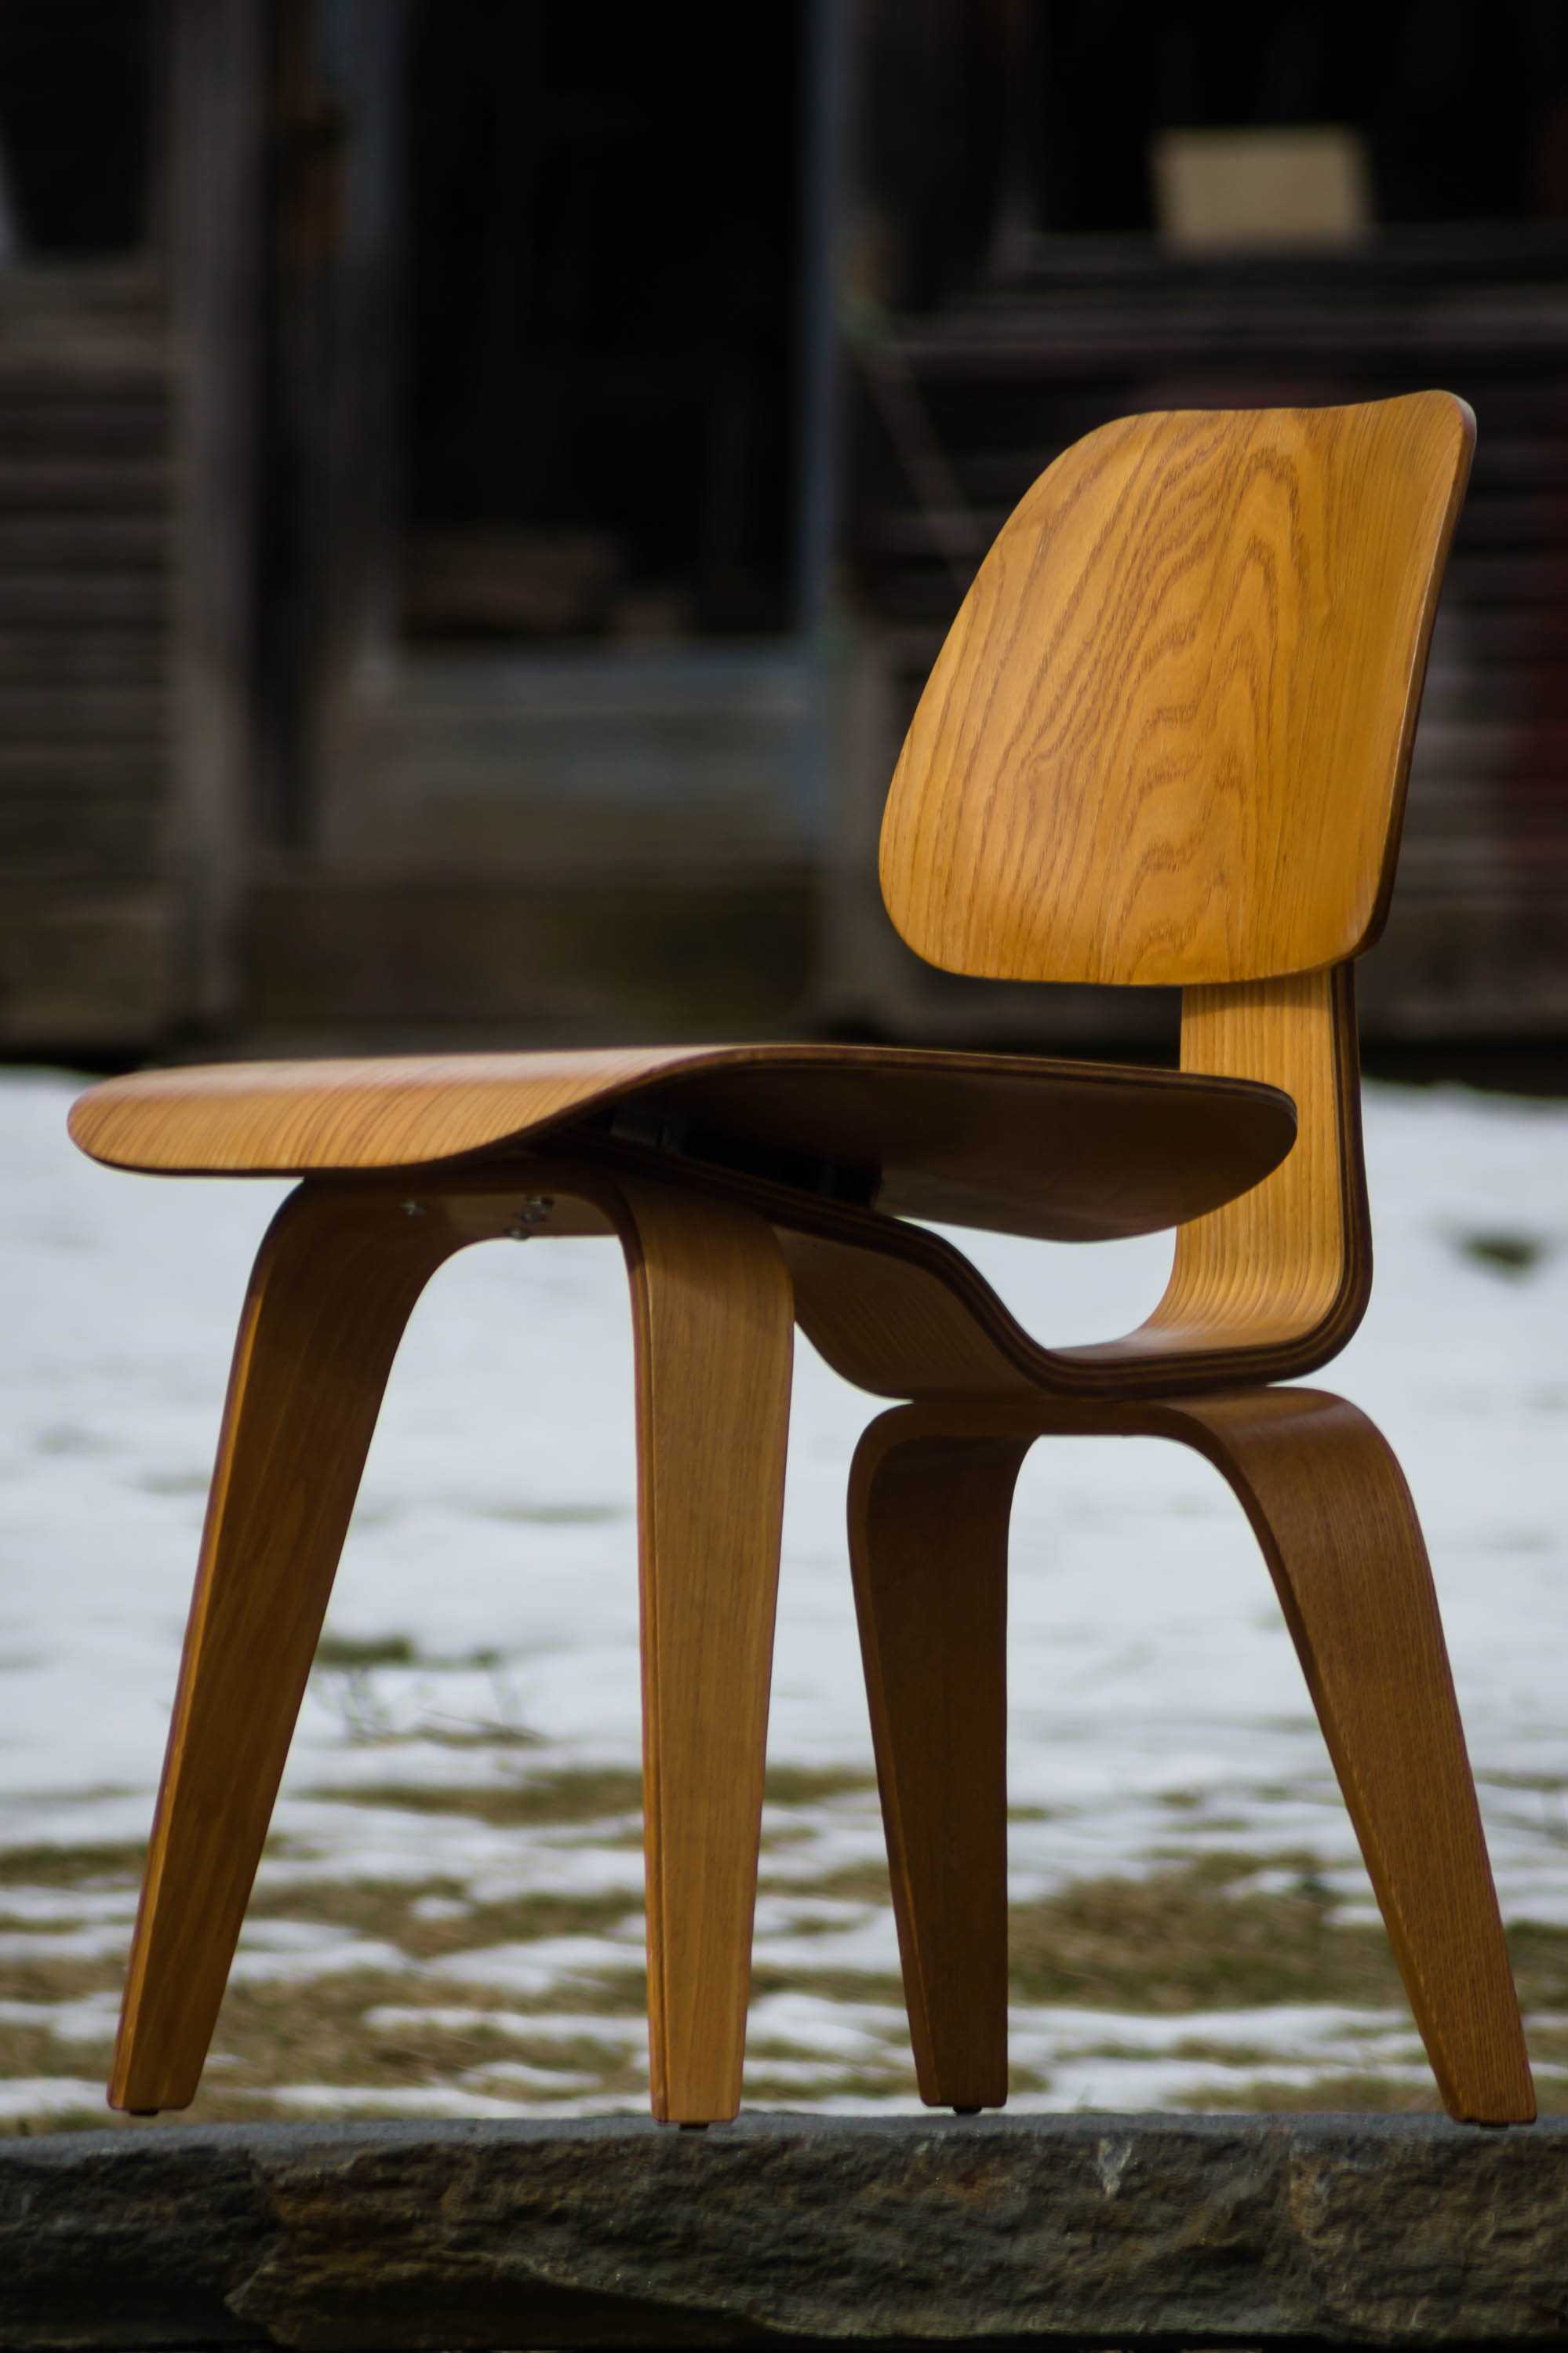
Restoring an Eames DCW
A few years ago I bought an Eames DCW that was in pretty bad shape. It had water spots from being rained on and whatever finish had been applied at the factory had worn down during its lifetime. The shock mounts which provide much of a proper DCW’s give and flex were brittle, cracked versions of what they used to be. The wood was there and the prior owner hadn’t drilled through the seat or backrest like one often finds with inexpensive used Eames Three-Letter-Acronym chairs. I used the chair as-is for a few months until shifting my weight in the seat tore through the left shock mounts such that leaning a bit to the right was a one way ticket to ground level. It was time for a total rebuild.
The Eames’ work has experienced a growth in popularity as Modernism has enjoyed a bit of a resurgence and that means that there are a few places to go for parts, instructions, etc. With a TLA chair a rebuild is pretty straightforward. It goes something like this:
- Get replacement shock mounts
- Take apart the chair
- Remove the existing finish
- Replace the shock mounts
- A lot of sanding
- Address any metal (if you have it)
- Finish the wood
- More sanding
- Finish it again
Sourcing shock mounts puts you right in the middle of a contentious restorers’ debate. Do you buy neoprene mounts that were used when the chair was made, or do you use polyurethane mounts? The polyurethane mounts won’t stiffen over time, but they aren’t original to the chair. The neoprene mounts are going to be closest to the chair’s original seating performance. I’m restoring on a budget, so I ordered a set of the polyurethane shock mounts. They arrived and I set about taking apart the chair.
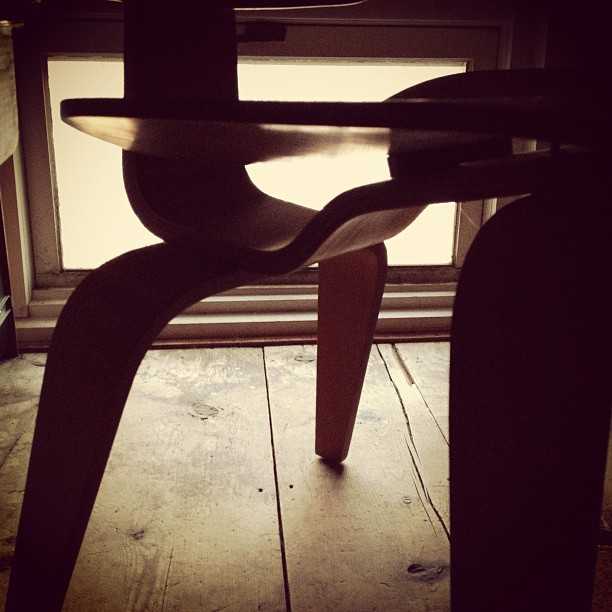
Sorry this is a bit blurry, let’s call it an action shot.
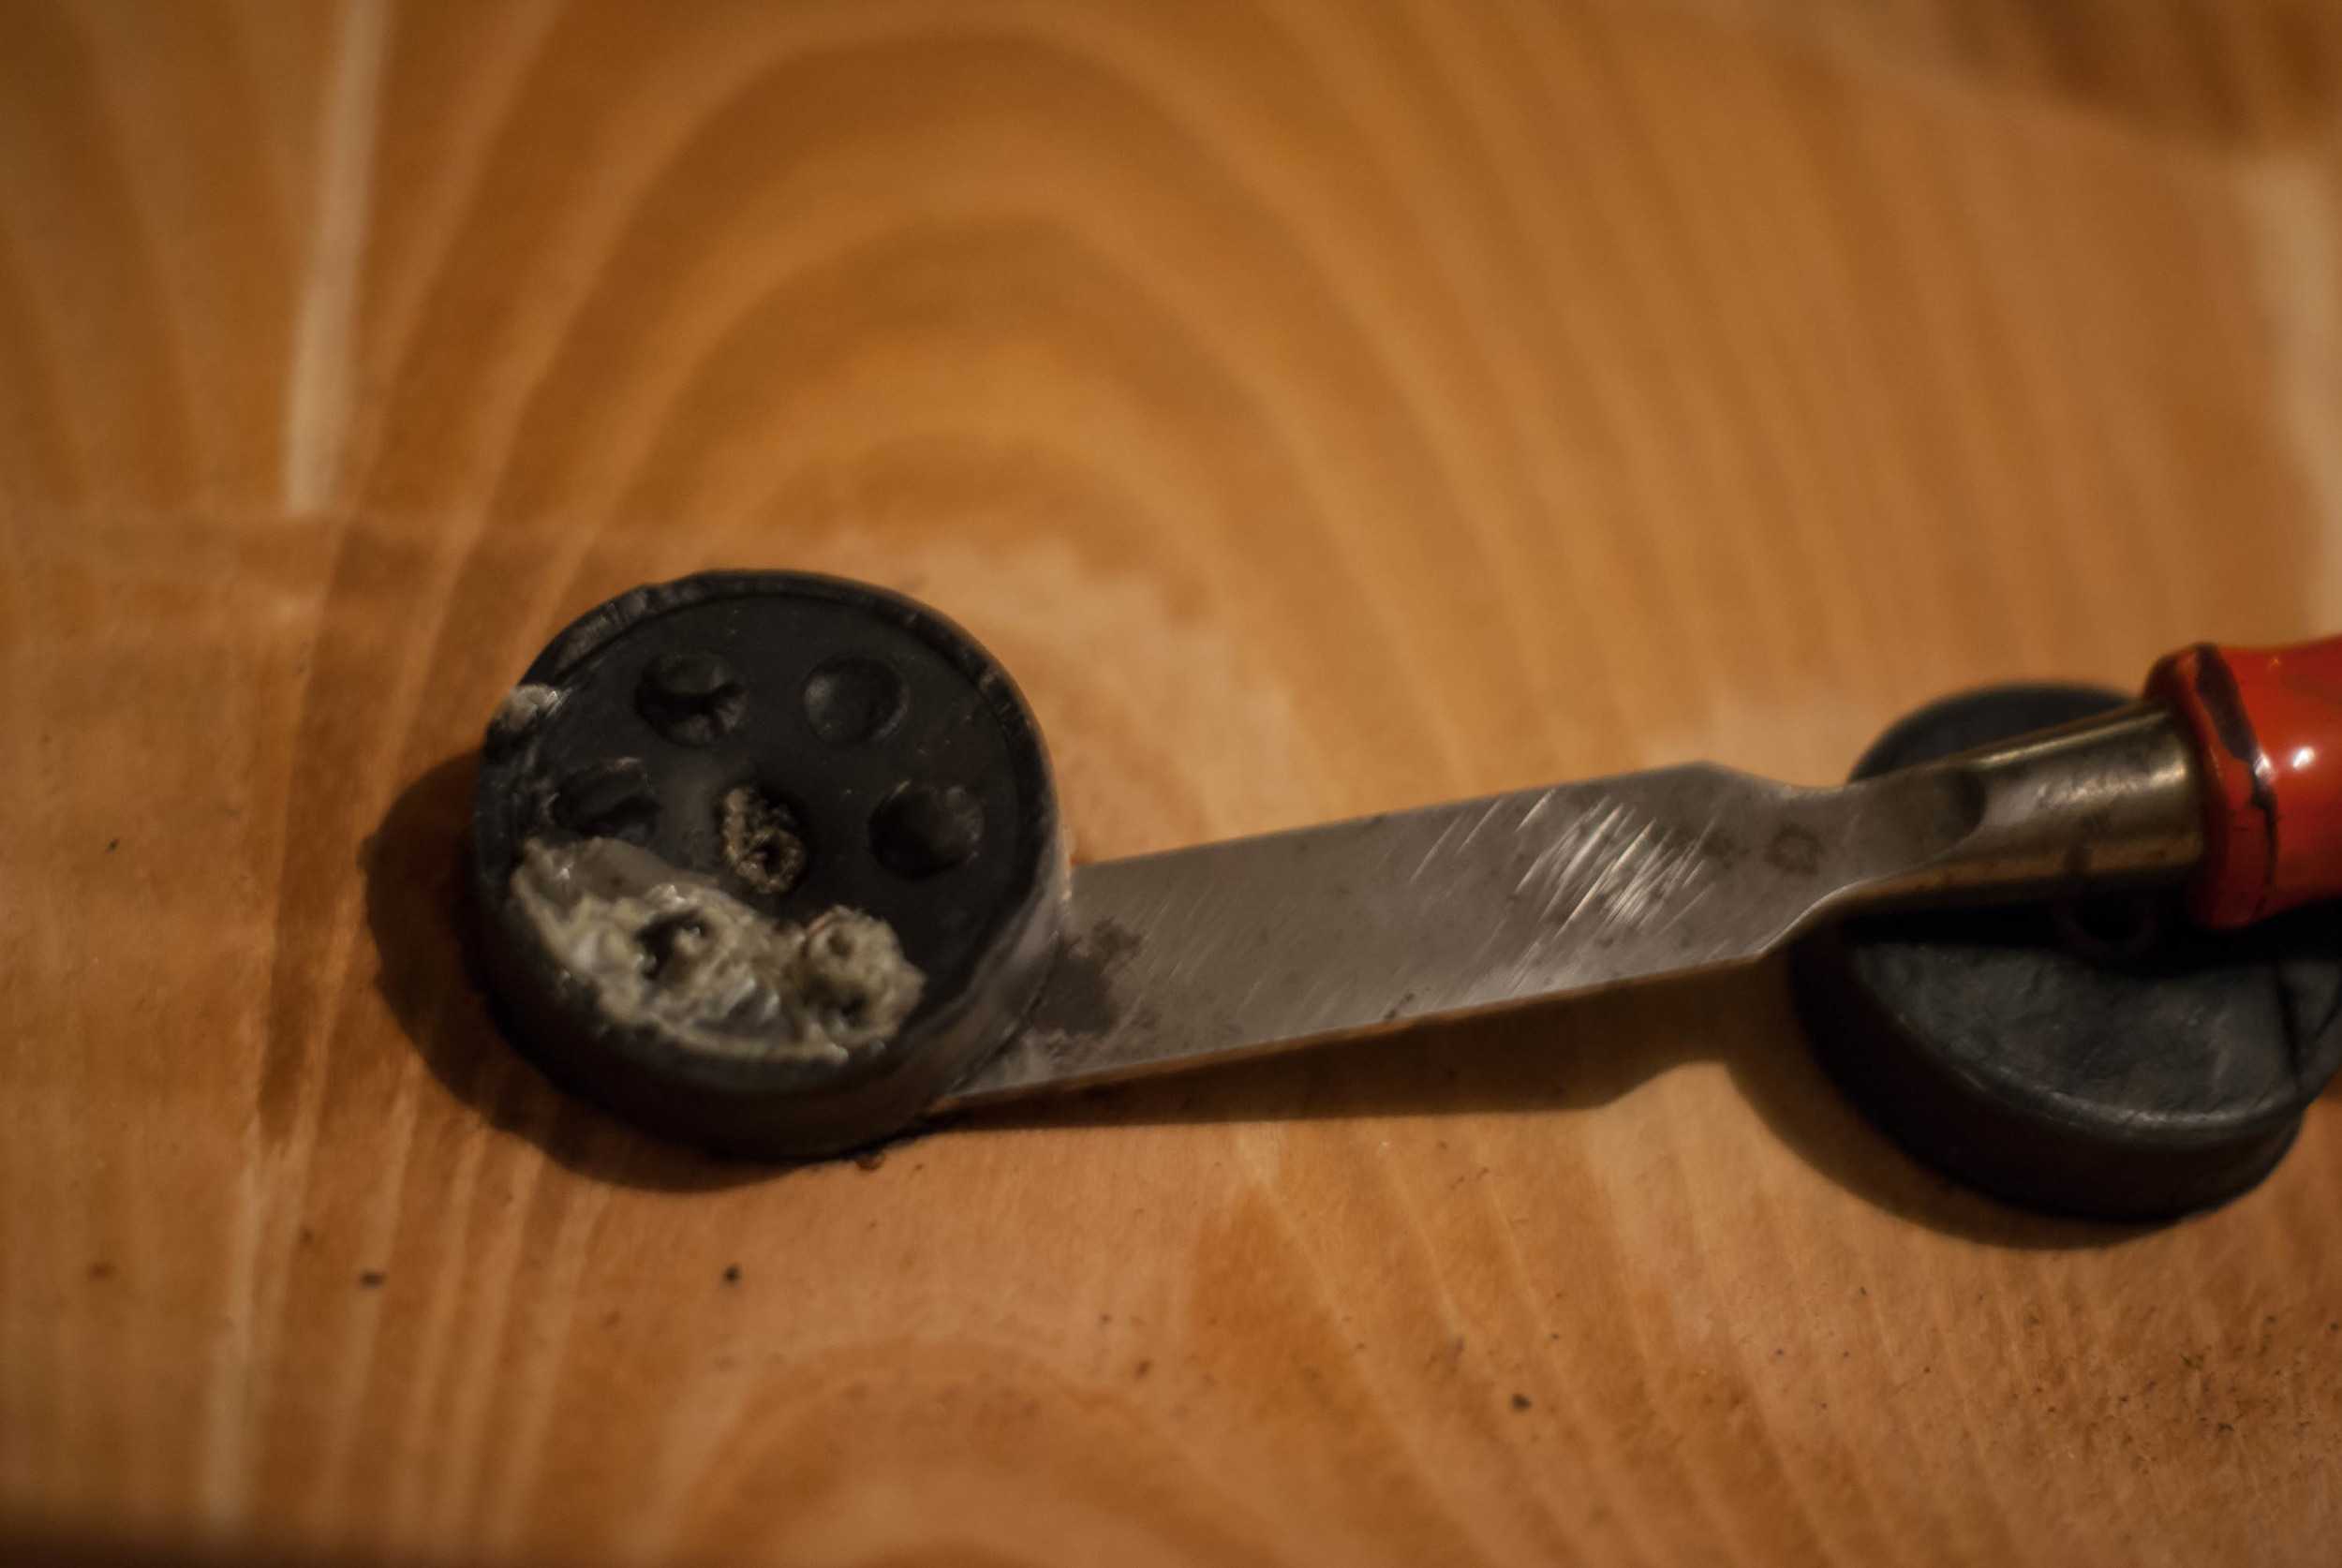
There really isn’t too much to taking apart a chair. Unscrew everything. Take off the existing shock mounts and clean up the mounting area with a chisel. You’ll want to leave a slight hint of the mounting positions throughout this process so you know if the new mounts are lined up correctly later.
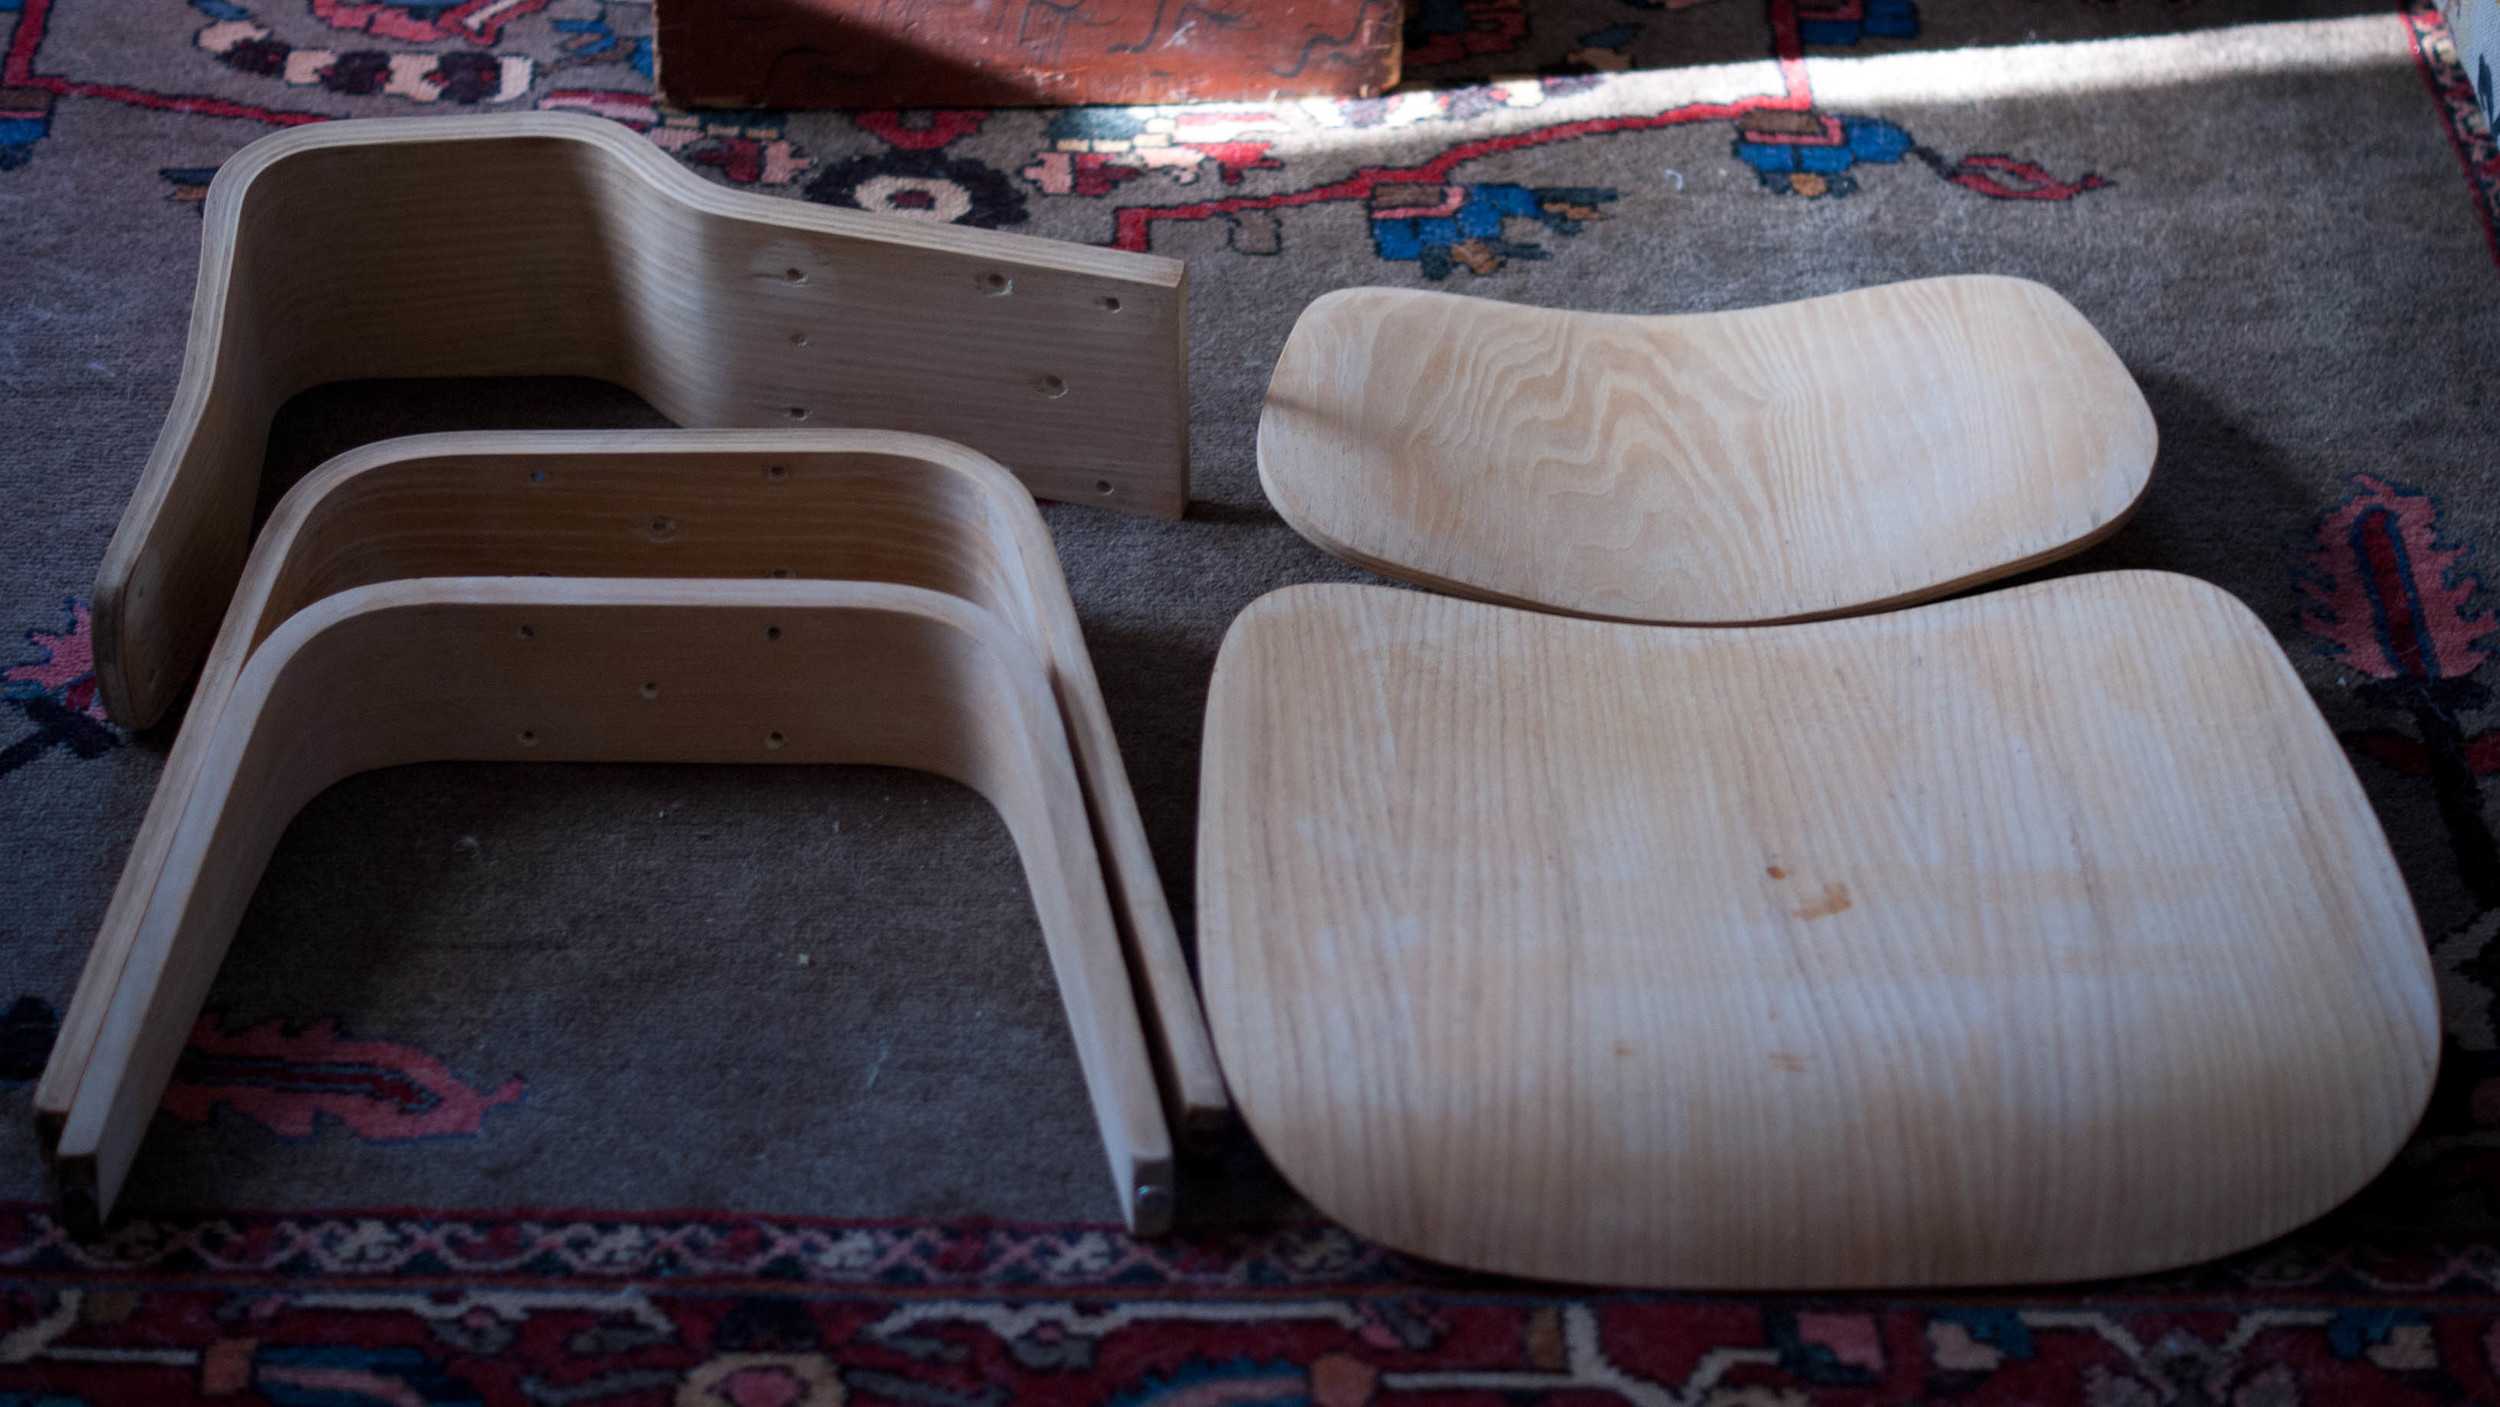
Once the chair was taken apart I sanded through the existing finish since I didn’t want to mess around with wood stripper. This requires a fair bit of patience as most of the chair’s surfaces are curved and evenly sanding the insides of tightly curved legs is a chore.
Rather than deal with trying to mask parts of the chair where the new mounts would go I opted to attach the mounts before refinishing the chair. Lightly sand your mounts and mounting points to increase surface area. The clamping required for this is a little tricky. A strip of wood works well for the back rest’s shock mount and this technique can be adapted to deal with most curves. When mounting the seat’s shock mounts do not do what I did: clamp the new mounts to the original positions directly on the seat bottom. The result of this approach are four mounts with four different ideas about the angle a screw should attach from. I sorted this out with several forms of persuasion that you do not want to resort to. Instead, screw the mounts to the spine of the chair with your new hardware and then clamp the spine and the seat together. This way the screws and mounts will be aligned when the chair is reassembled. For an adhesive I used JB Weld because it’s ridiculously strong, fairly easy to work with, and was something I already had. Other adhesives may work better (but nothing has failed on my chair so far).

Creative clamping will be required.
Now that the shock mounts are attached the next step is finishing the wooden parts. I was happy with the color of my chair’s veneer, so I simply used clear polyurethane to finish the chair. Apply a coat, sand it smooth and repeat until you get a nice finished surface. If you’ve got metal to work with Tyler at Plastolux has a technique for restoring the chrome legs.
Now that the components are finished it’s time to reassemble the chair. For the DCW I think it’s easiest to assemble the chair in this order.
- Rear leg attached to spine
- Front leg attached to spine (leaving the longer screws that attach to the seat out)
- Seat mounted to spine
- Back rest mounted to spine
The end result is your chair, restored.