Repairing the Olympia Coffex
I was very fortunate to receive an Olympia Coffex espresso machine as a gift a few weeks back as it had been hibernating in it’s previous owner’s basement since he upgraded to a larger machine several years ago. The Coffex worked remarkably well out the gate with a little cleaning, but it leaked enough that it could not be left with its reservoir filled without making a sizable puddle.
With the case opened up I was able to identify two leaks. The first and most serious was a tear in the gasket at the base of the reservoir. This tear accounted for almost all of the leaked water.
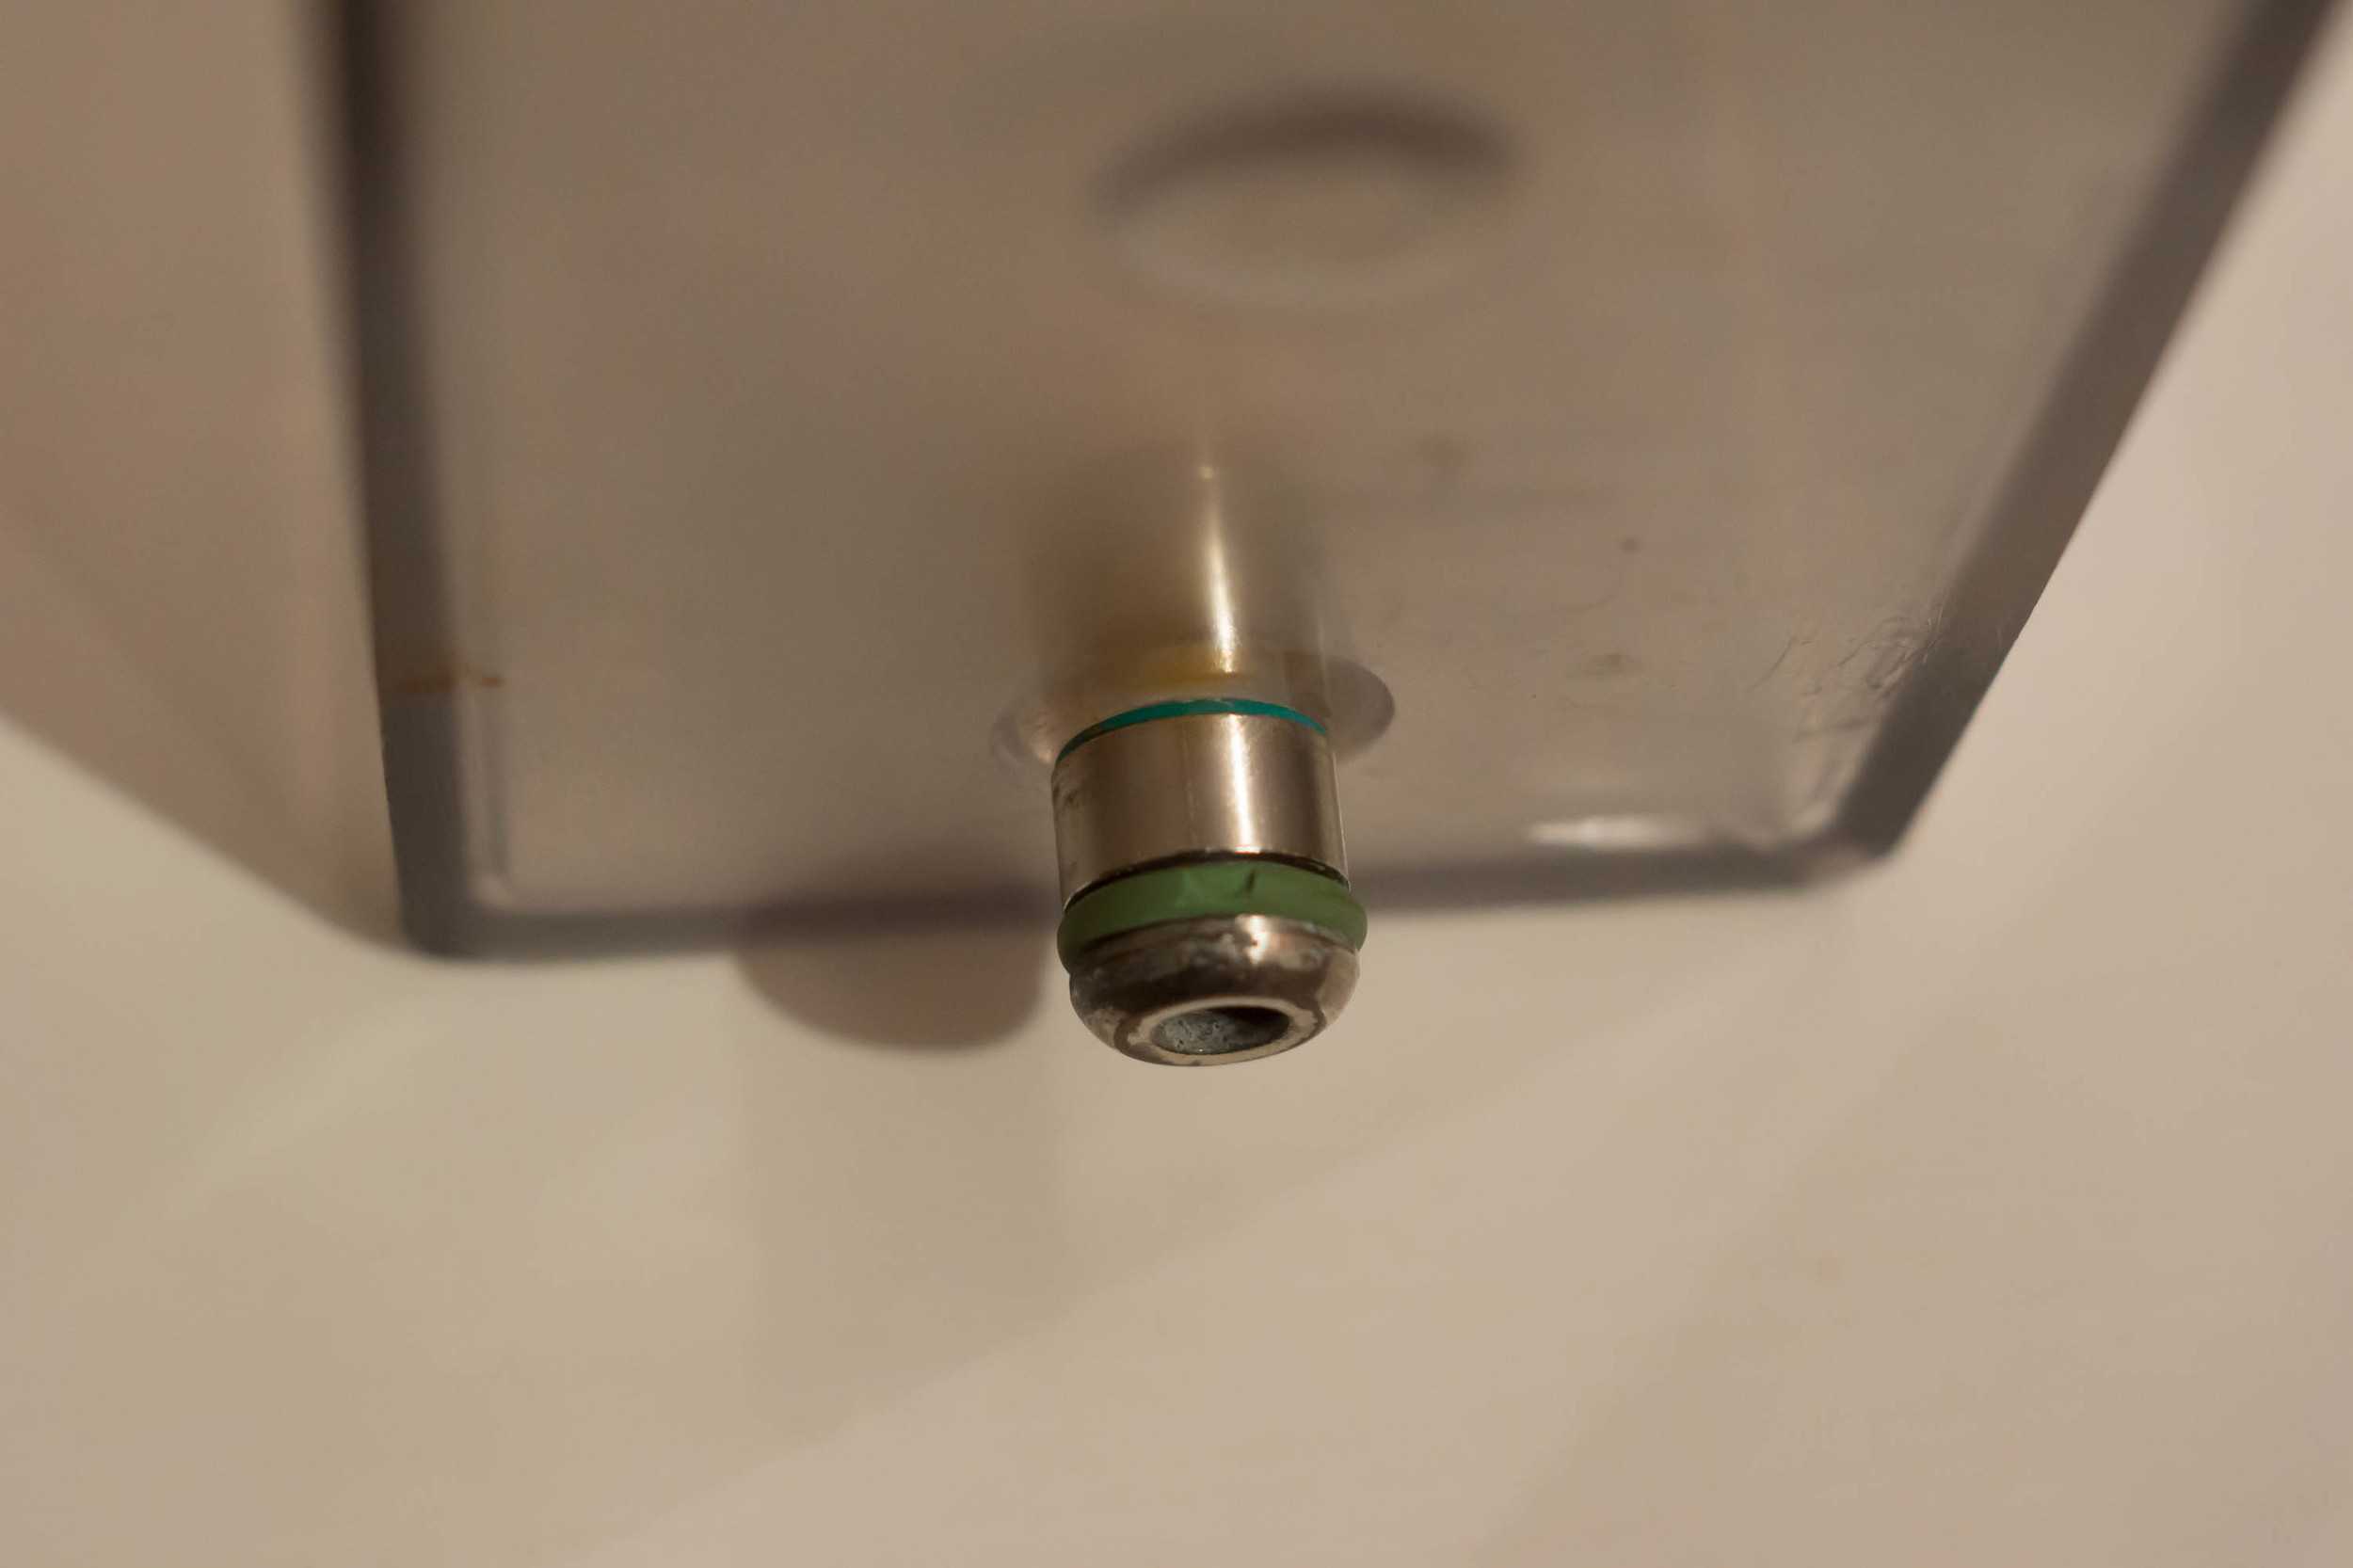
The torn reservoir gasket.
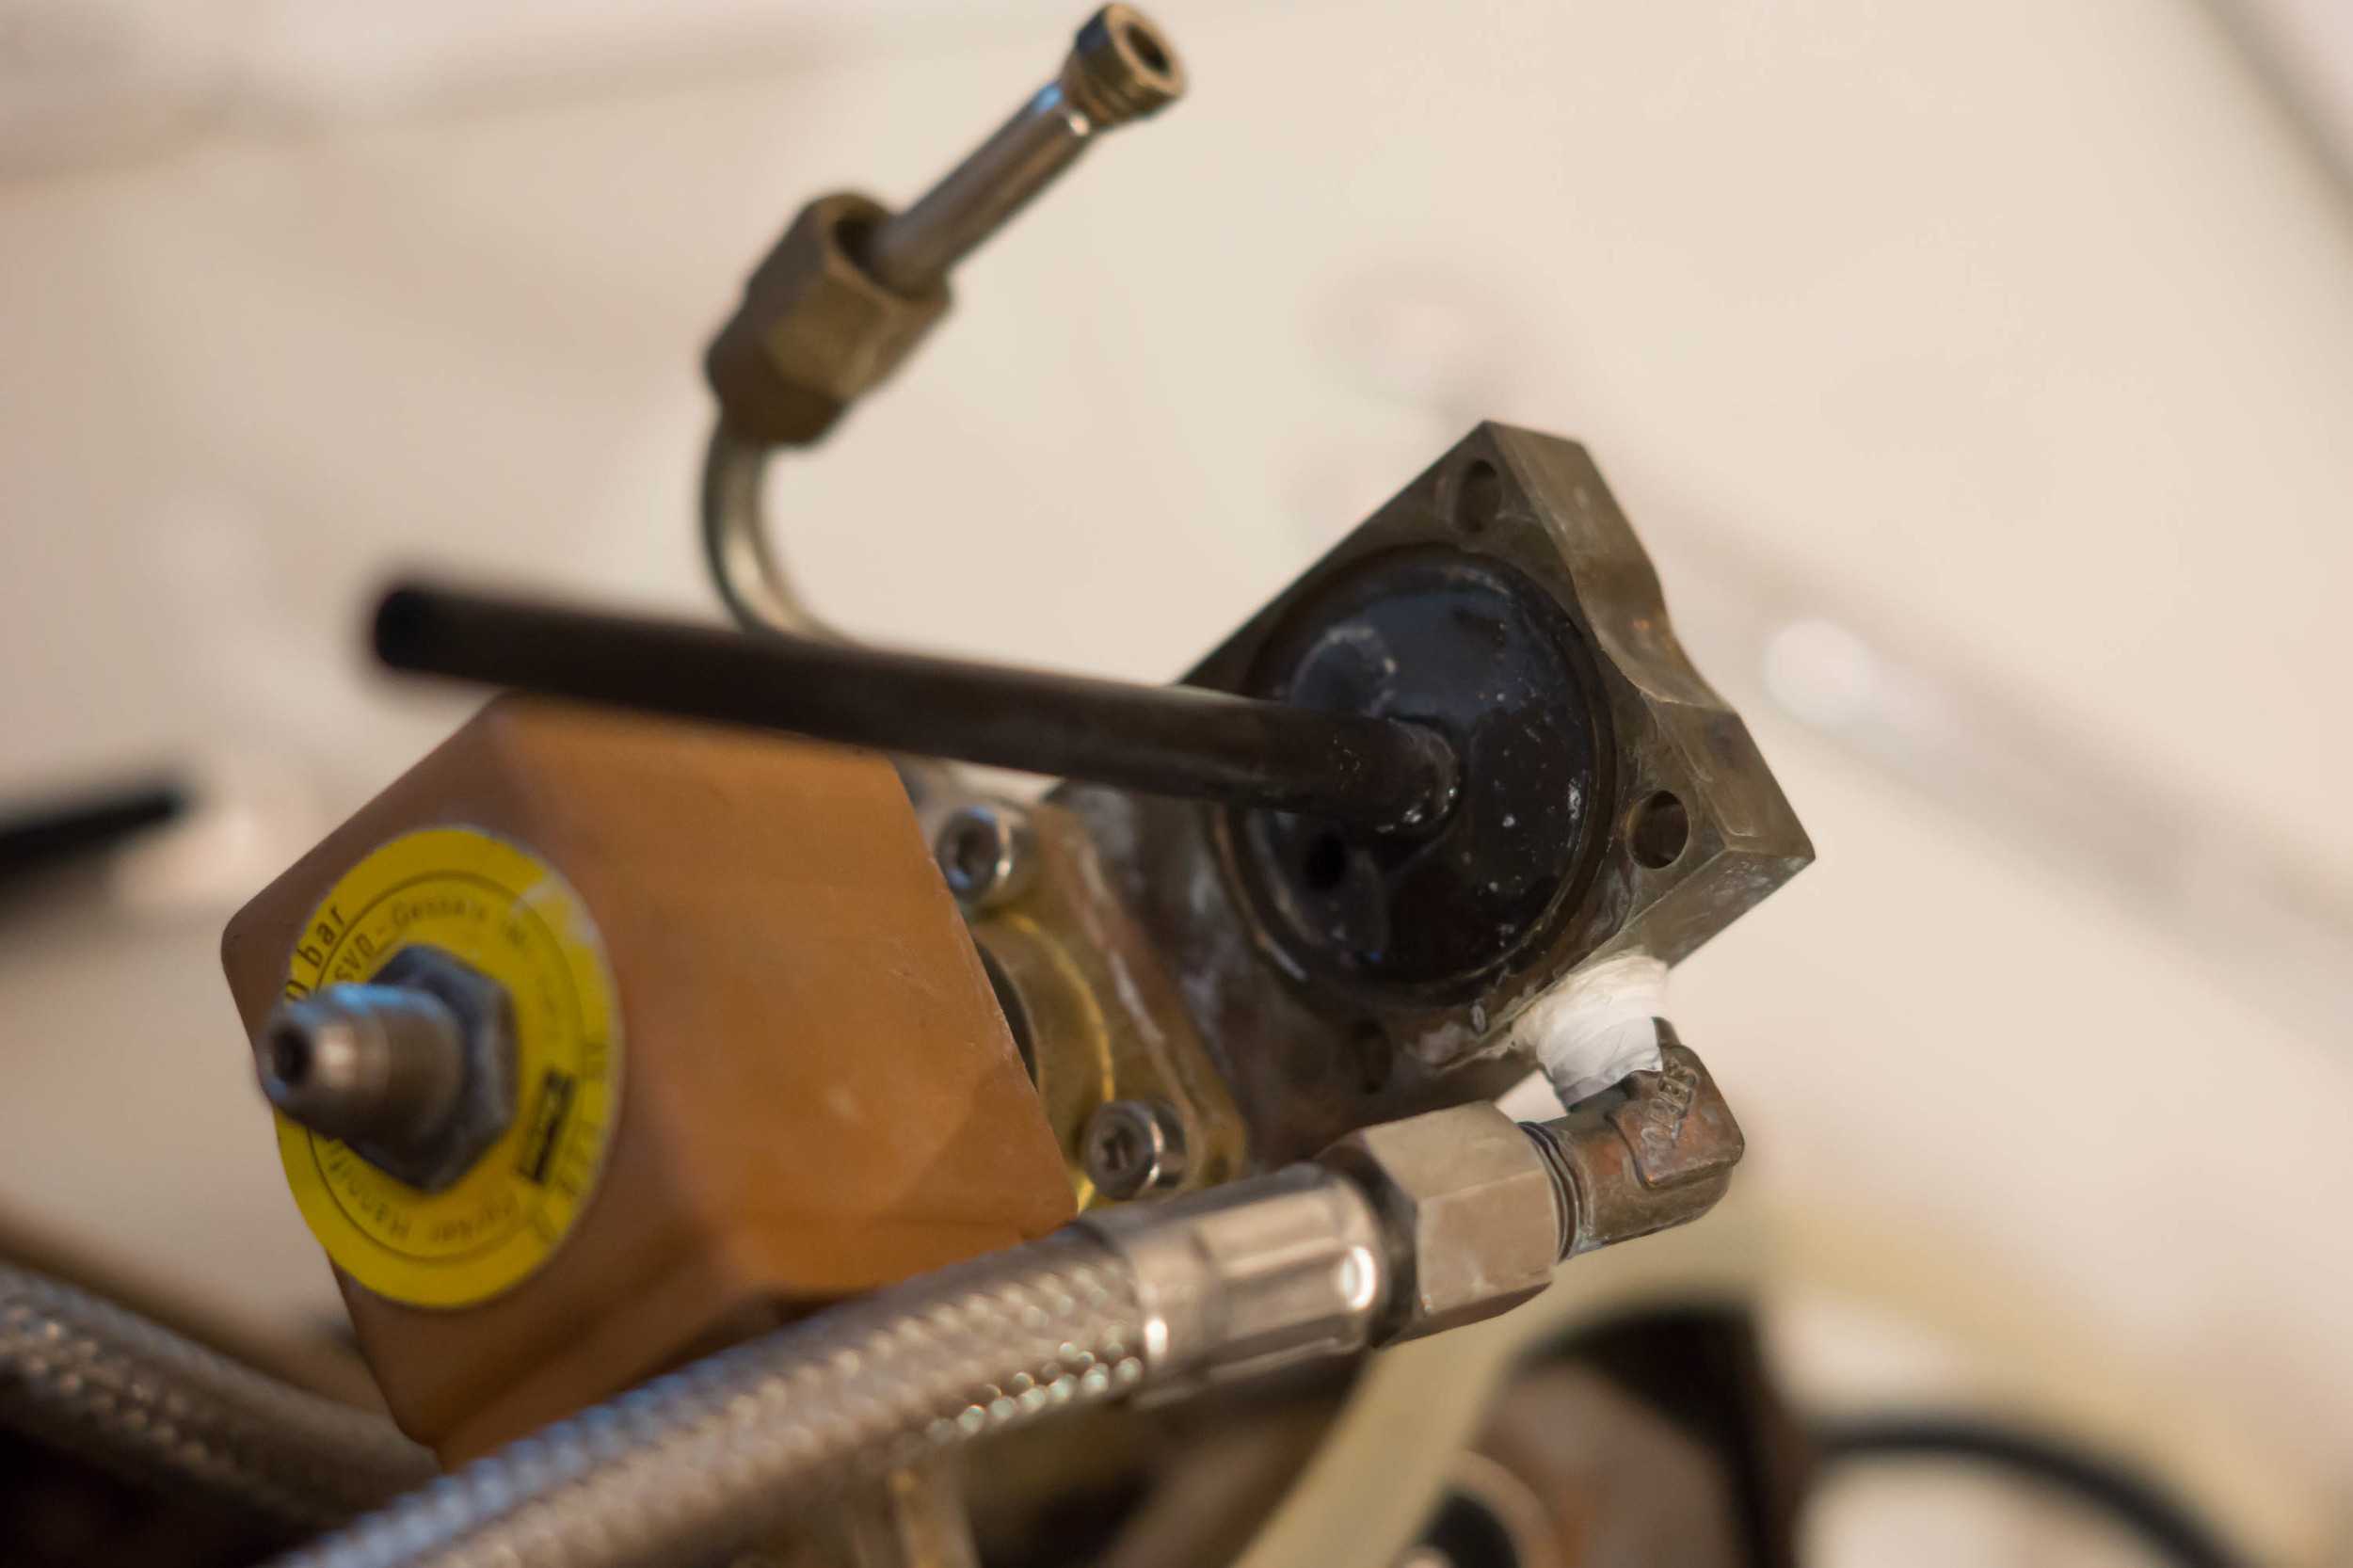
The second leak was at the joint between the heat exchanger/3-way valve assembly and the boiler. This leaked steam when the Coffex was heated. I cranked down the screws attaching the block to the boiler to no avail. This wasn’t a huge leak but it needed to be fixed. The gasket looked pretty old and had started to crack.
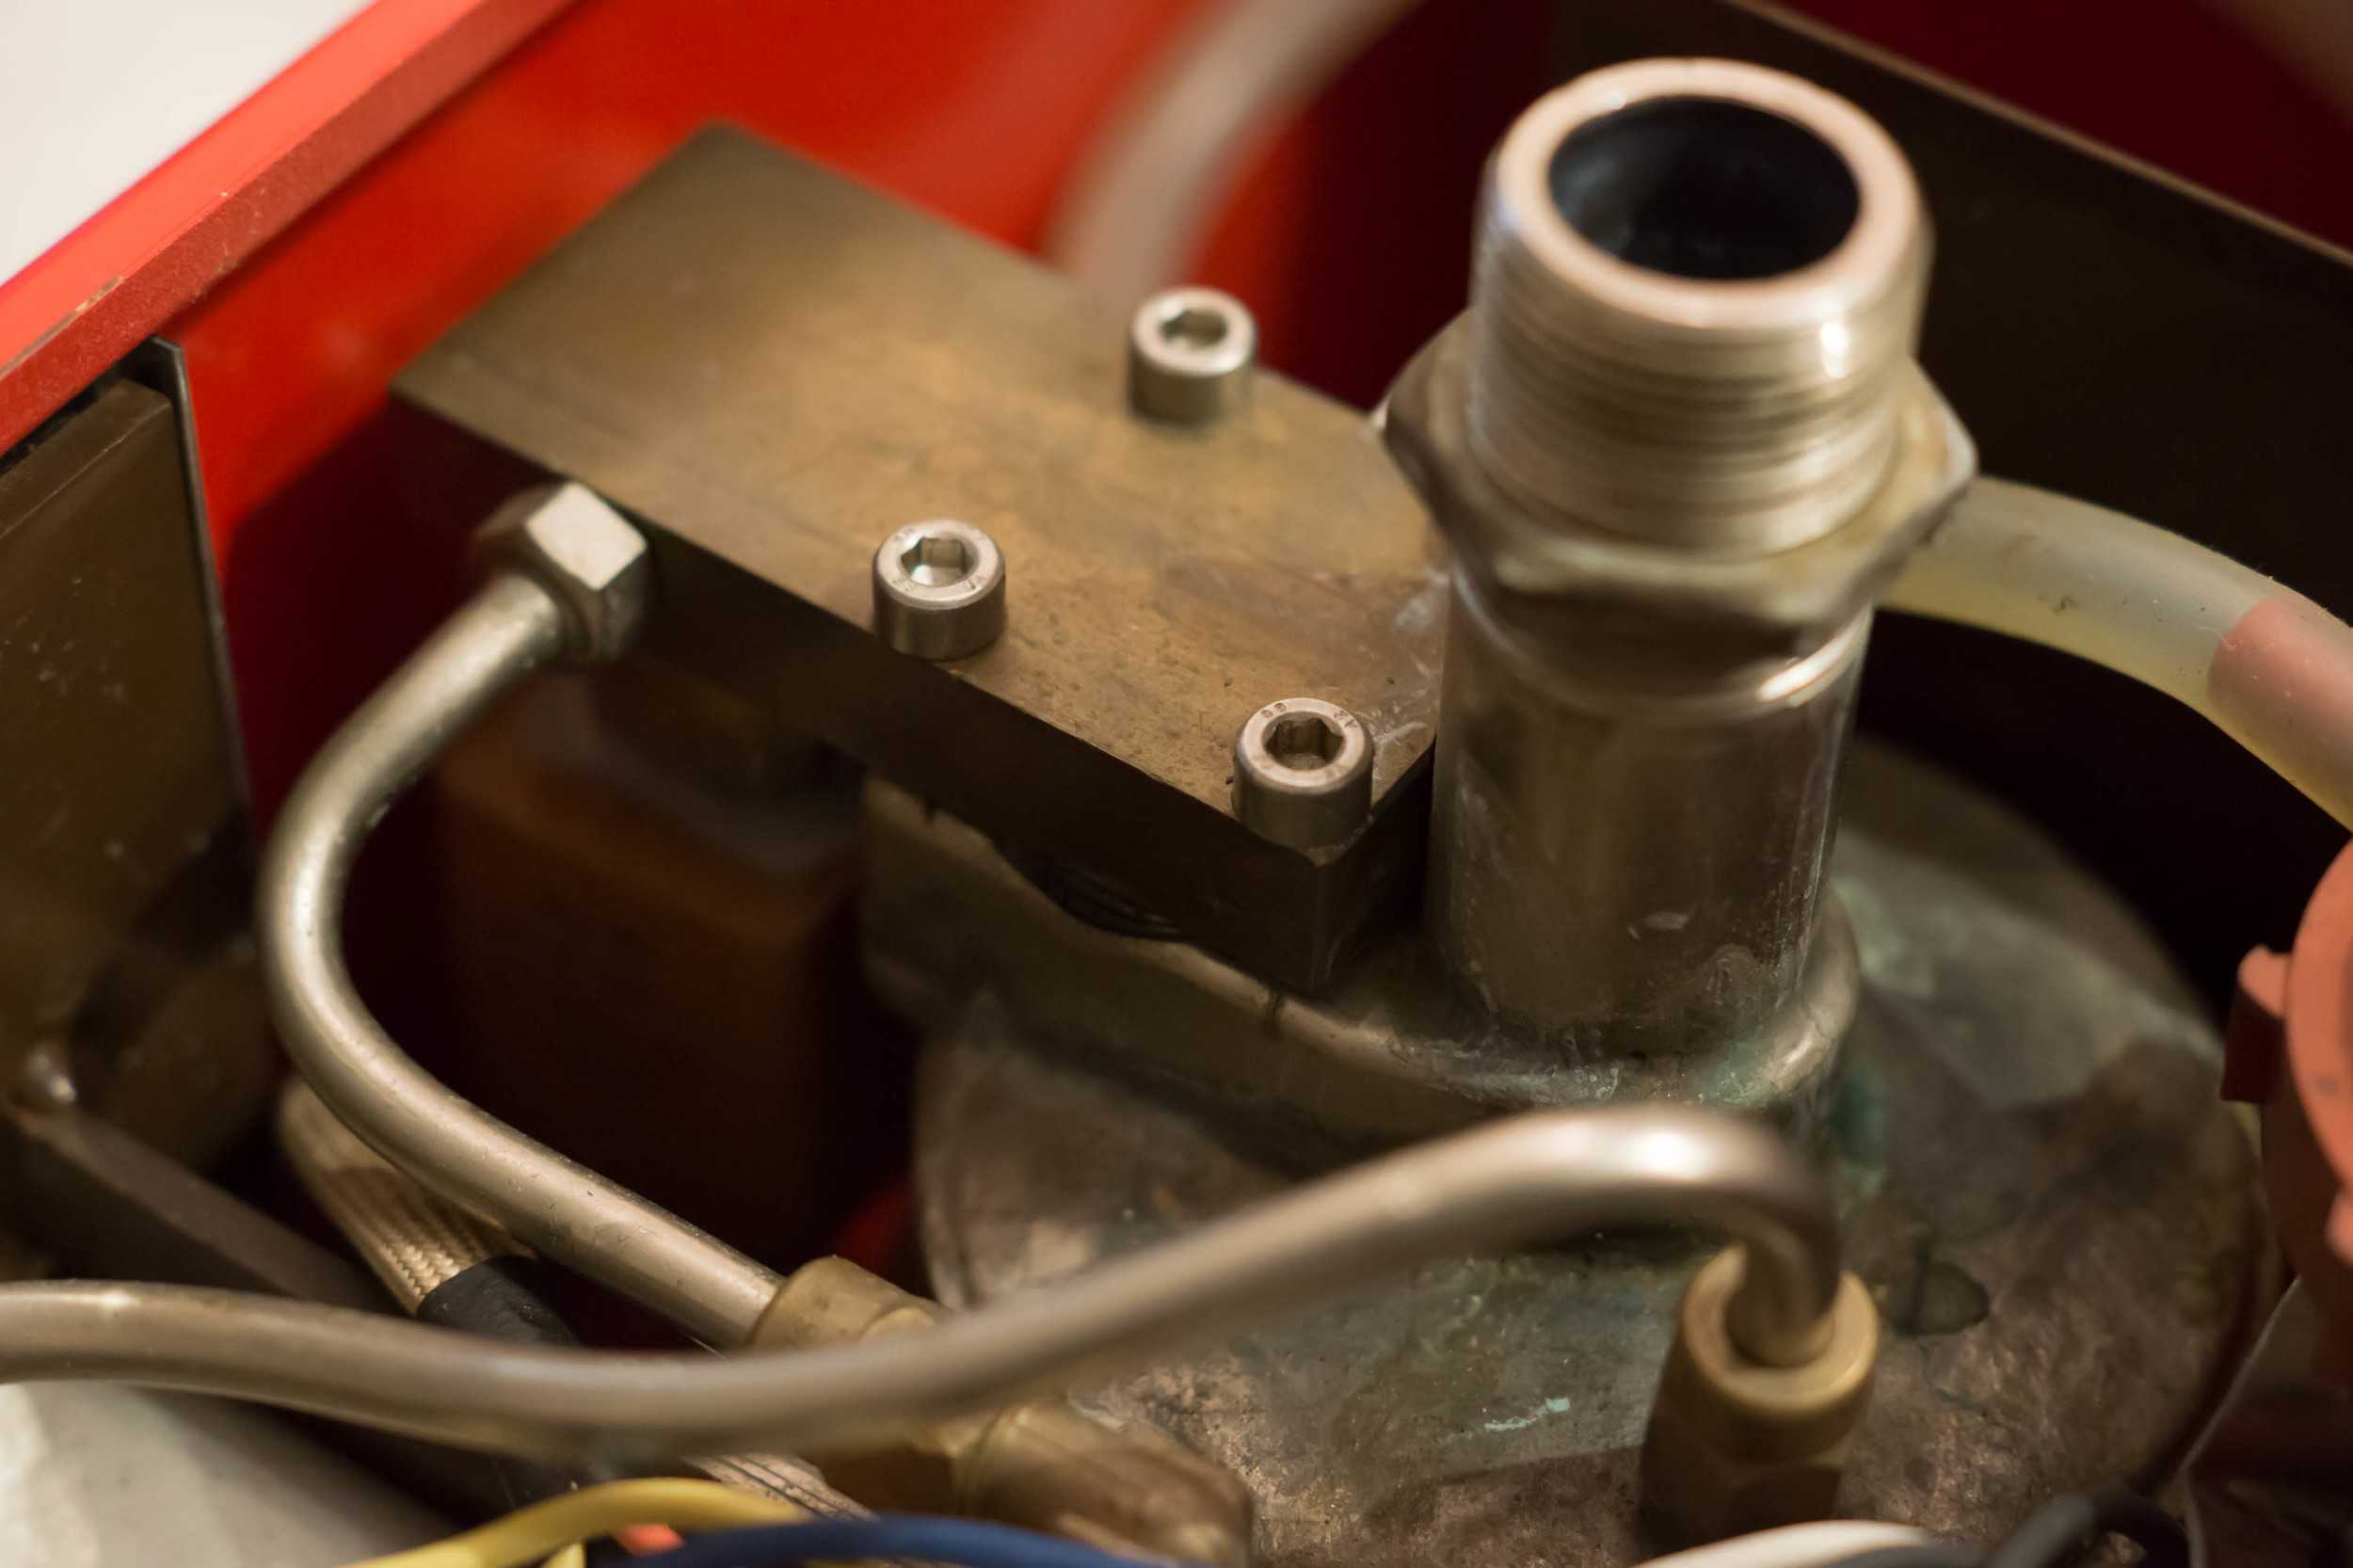
The black heat exchanger gasket peeks out between the brass block and the top of the boiler.
I spent a fair amount of time reading Home Barista’s forums where I learned about my machine, Olympia’s machines, and espresso in general. Olympia has made a line of heat exchanger (HX) based espresso machines for more than 30 years. Olympia’s HX machines are all based around the same common platform which gets a little better (and probably a little cheaper to make) with each iteration (like the Porsche 911). I’ve got an Olympia Coffex but you can find different generations of the same basic machine badged as a Maximatic, Caffarex, or a Livietta.
Enter Orphan Espresso. I found OE after some Googling for Coffex parts. Before I seriously set about trying to fix anything I needed information. This is my first espresso machine and at this point I had gleaned enough from Home Barista to work from OE’s nice collection of replacement parts to get what I needed. When I was fairly confident that I had the correct parts I emailed OE to confirm and their quick response let me place my order.
I ordered the reservoir gasket kit, HX gasket kit, and some tools. (You’ll really want those tools.) While I waited for USPS I had time to explore OE’s YouTube channel, where they walk you through the various gaskets and seals on an Olympia Maximatic.
Using the above video I had a decent idea of how to go about replacing the gaskets: pop the casing off, exchange the reservoir gasket, then tackle the HX gasket.
The reservoir gasket wasn’t difficult, but I learned that old gaskets are no longer terribly flexible and that one should just tear the gasket to remove it. Popping the new gasket into position wasn’t a problem. OE’s kit comes with a smaller gasket that sits between the plastic of the reservoir and the metal valve, but I didn’t use it since I couldn’t easily remove the valve and that gasket is not a problem.
The HX gasket is a bit trickier. You’ll need those tools to futz with the existing O ring, a 12mm wrench, and a hex key. If you follow along with the slideshow below and remember that the way to loosen the HX pipe fitting is to turn it towards the boiler you should have an easier time than I did and a good bit less consternation.
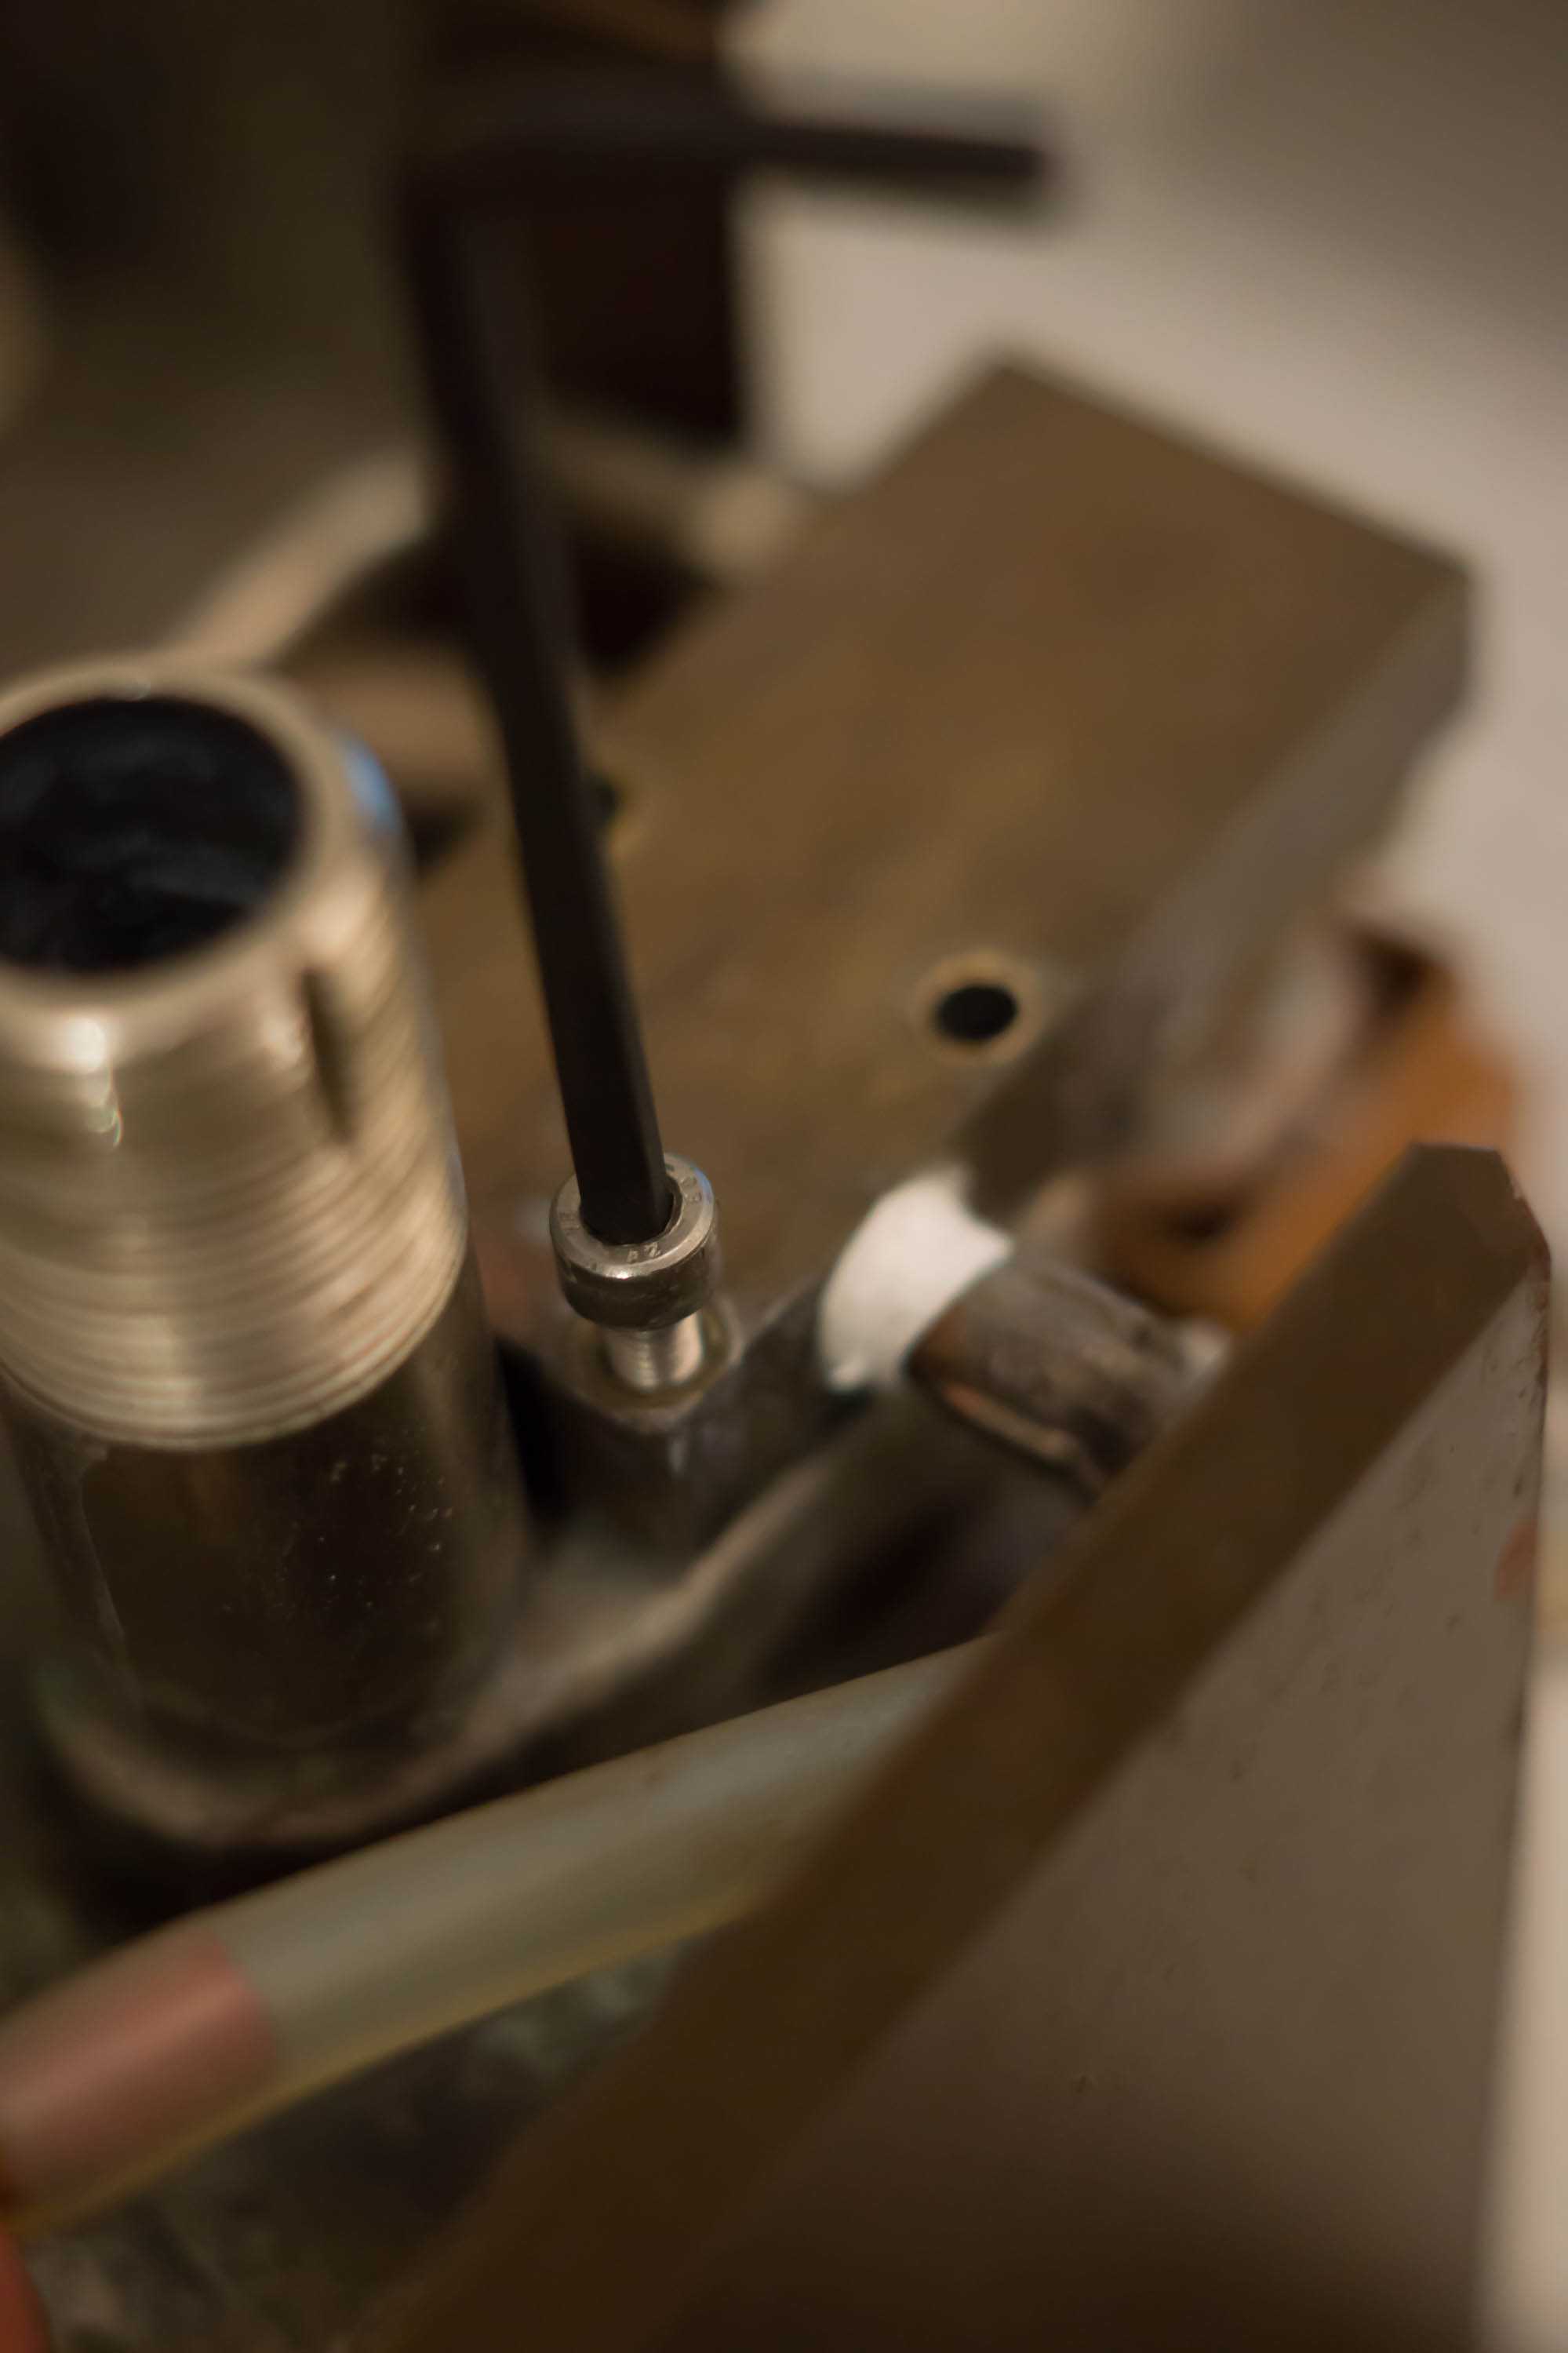
This is where we’re working. We’ve got the block, four hex screws, and the pipe to the heat exchanger (HX). This is a good time to empty the boiler.
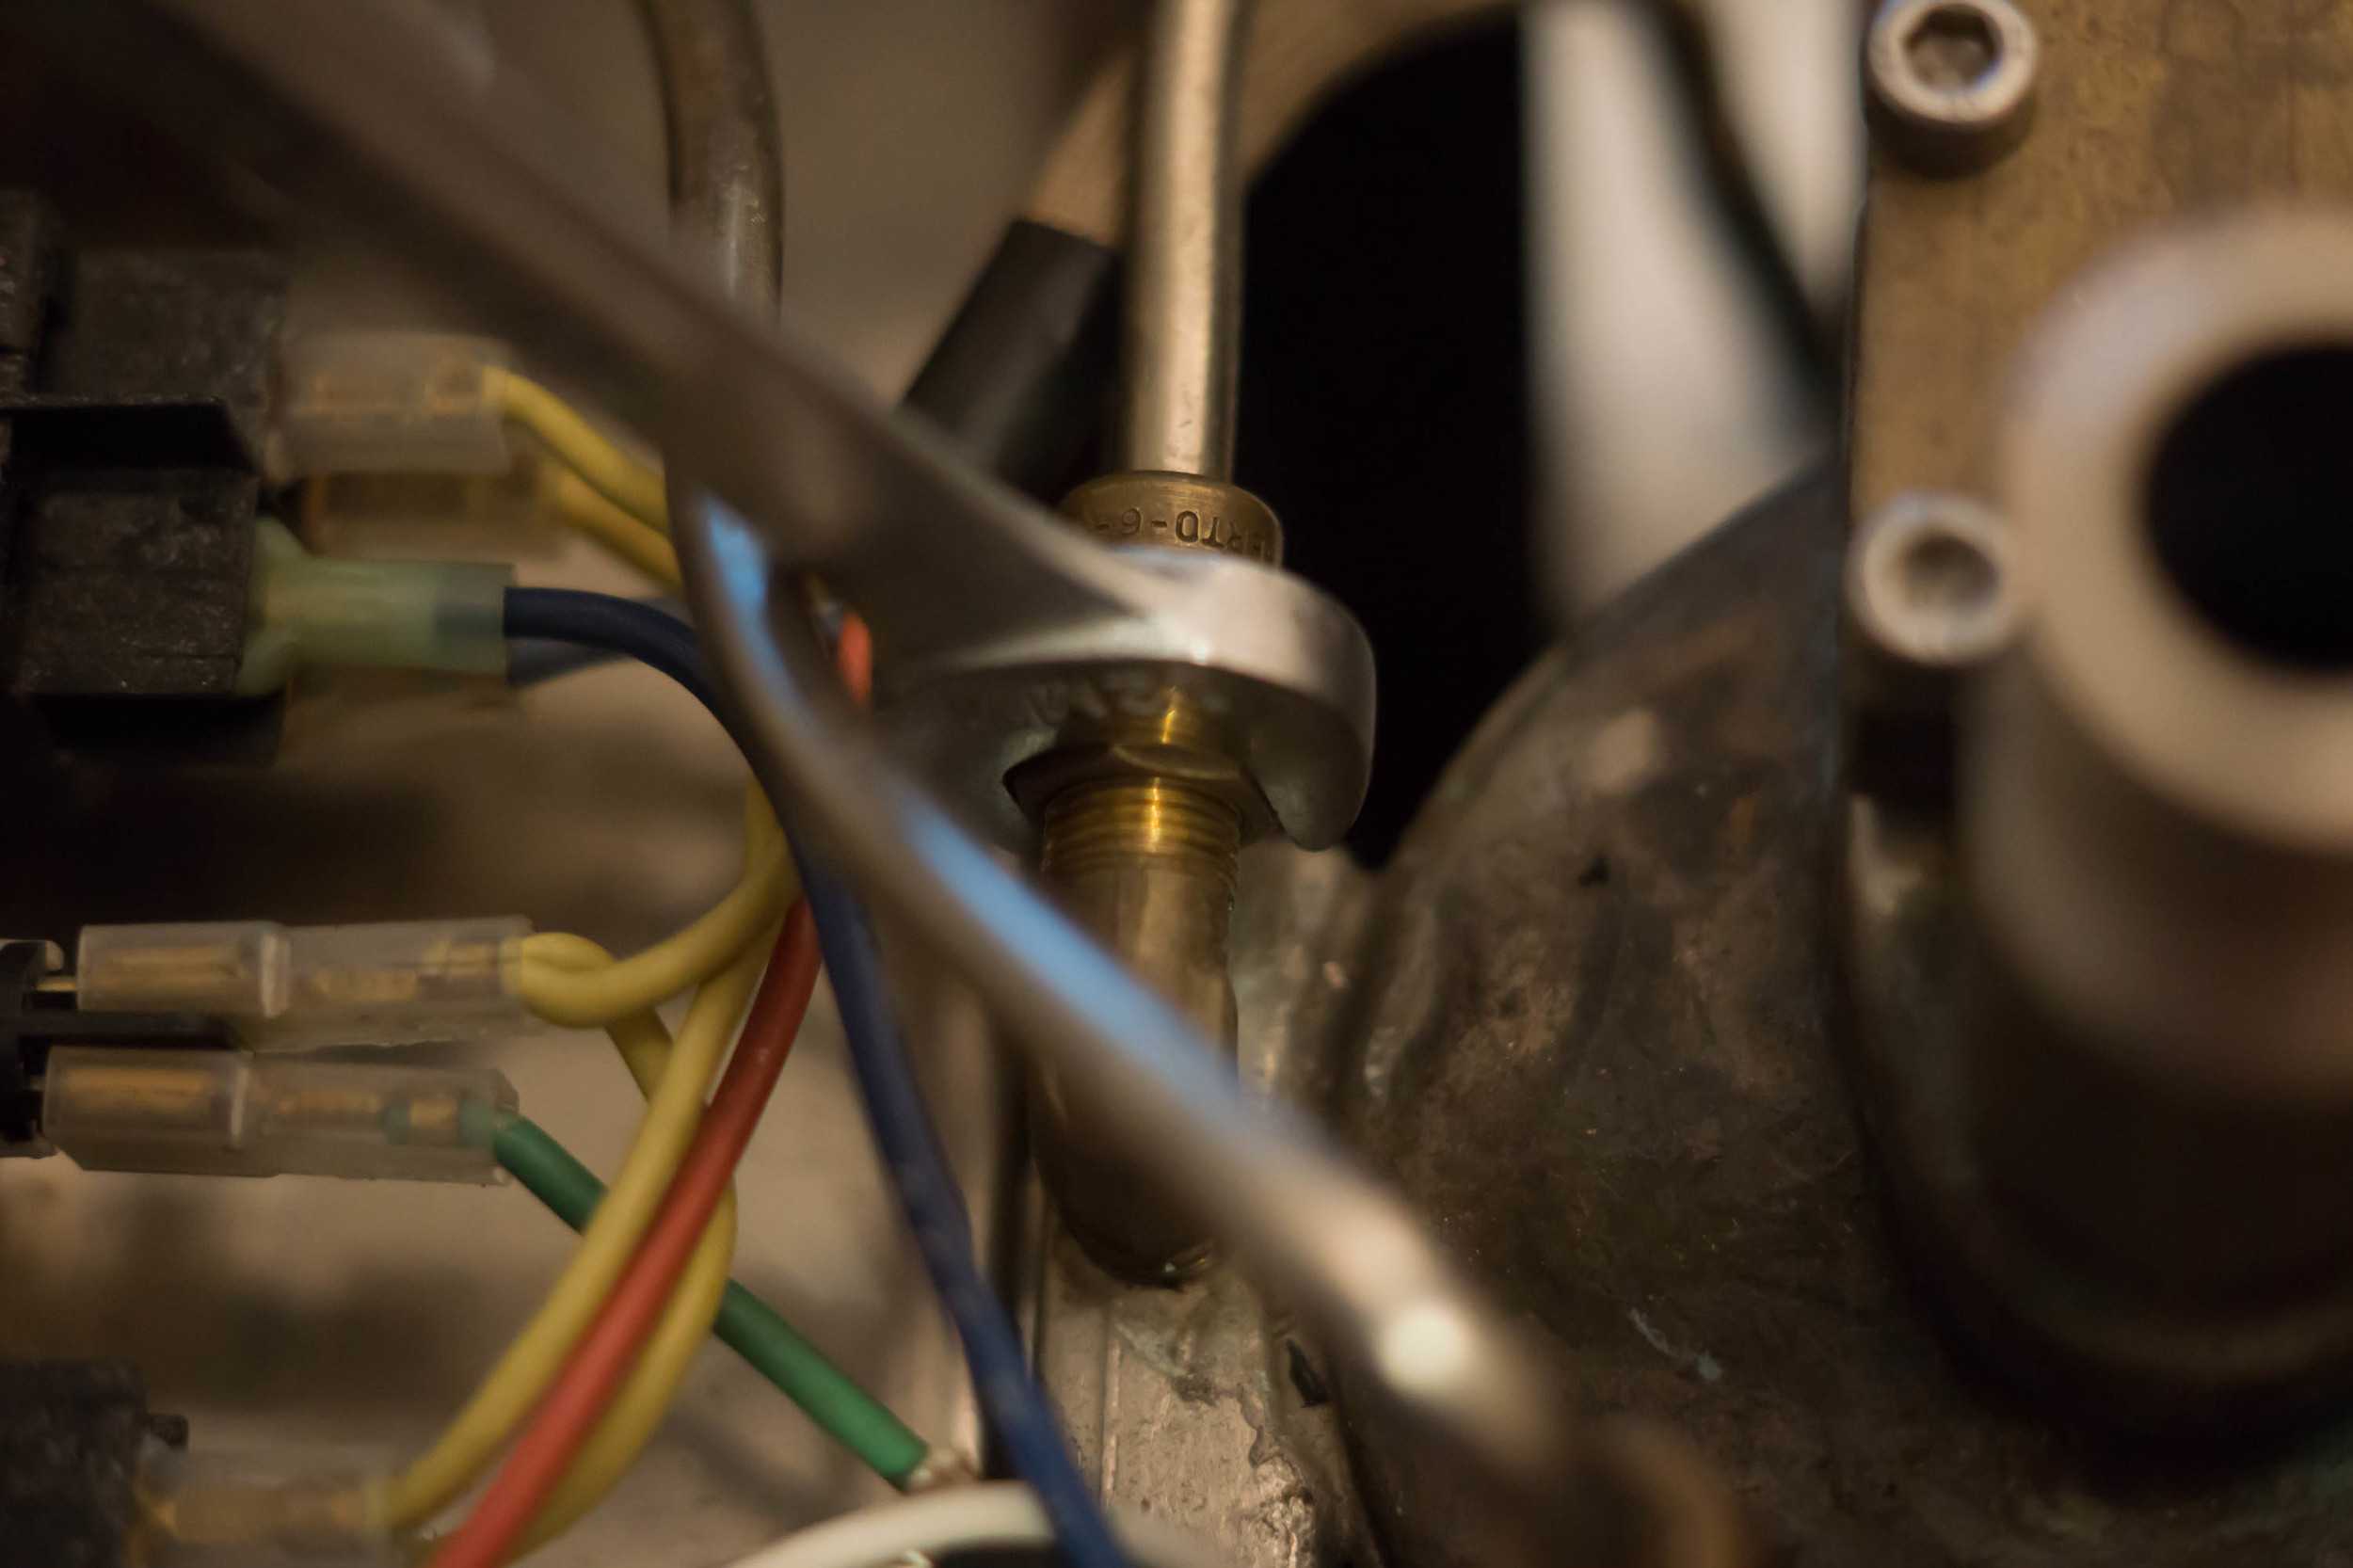
- Loosen the fitting on the pipe to the HX.
- Now remove the screws from the brass block using the hex key.
- Pull the HX block and attached pipe out of the boiler.
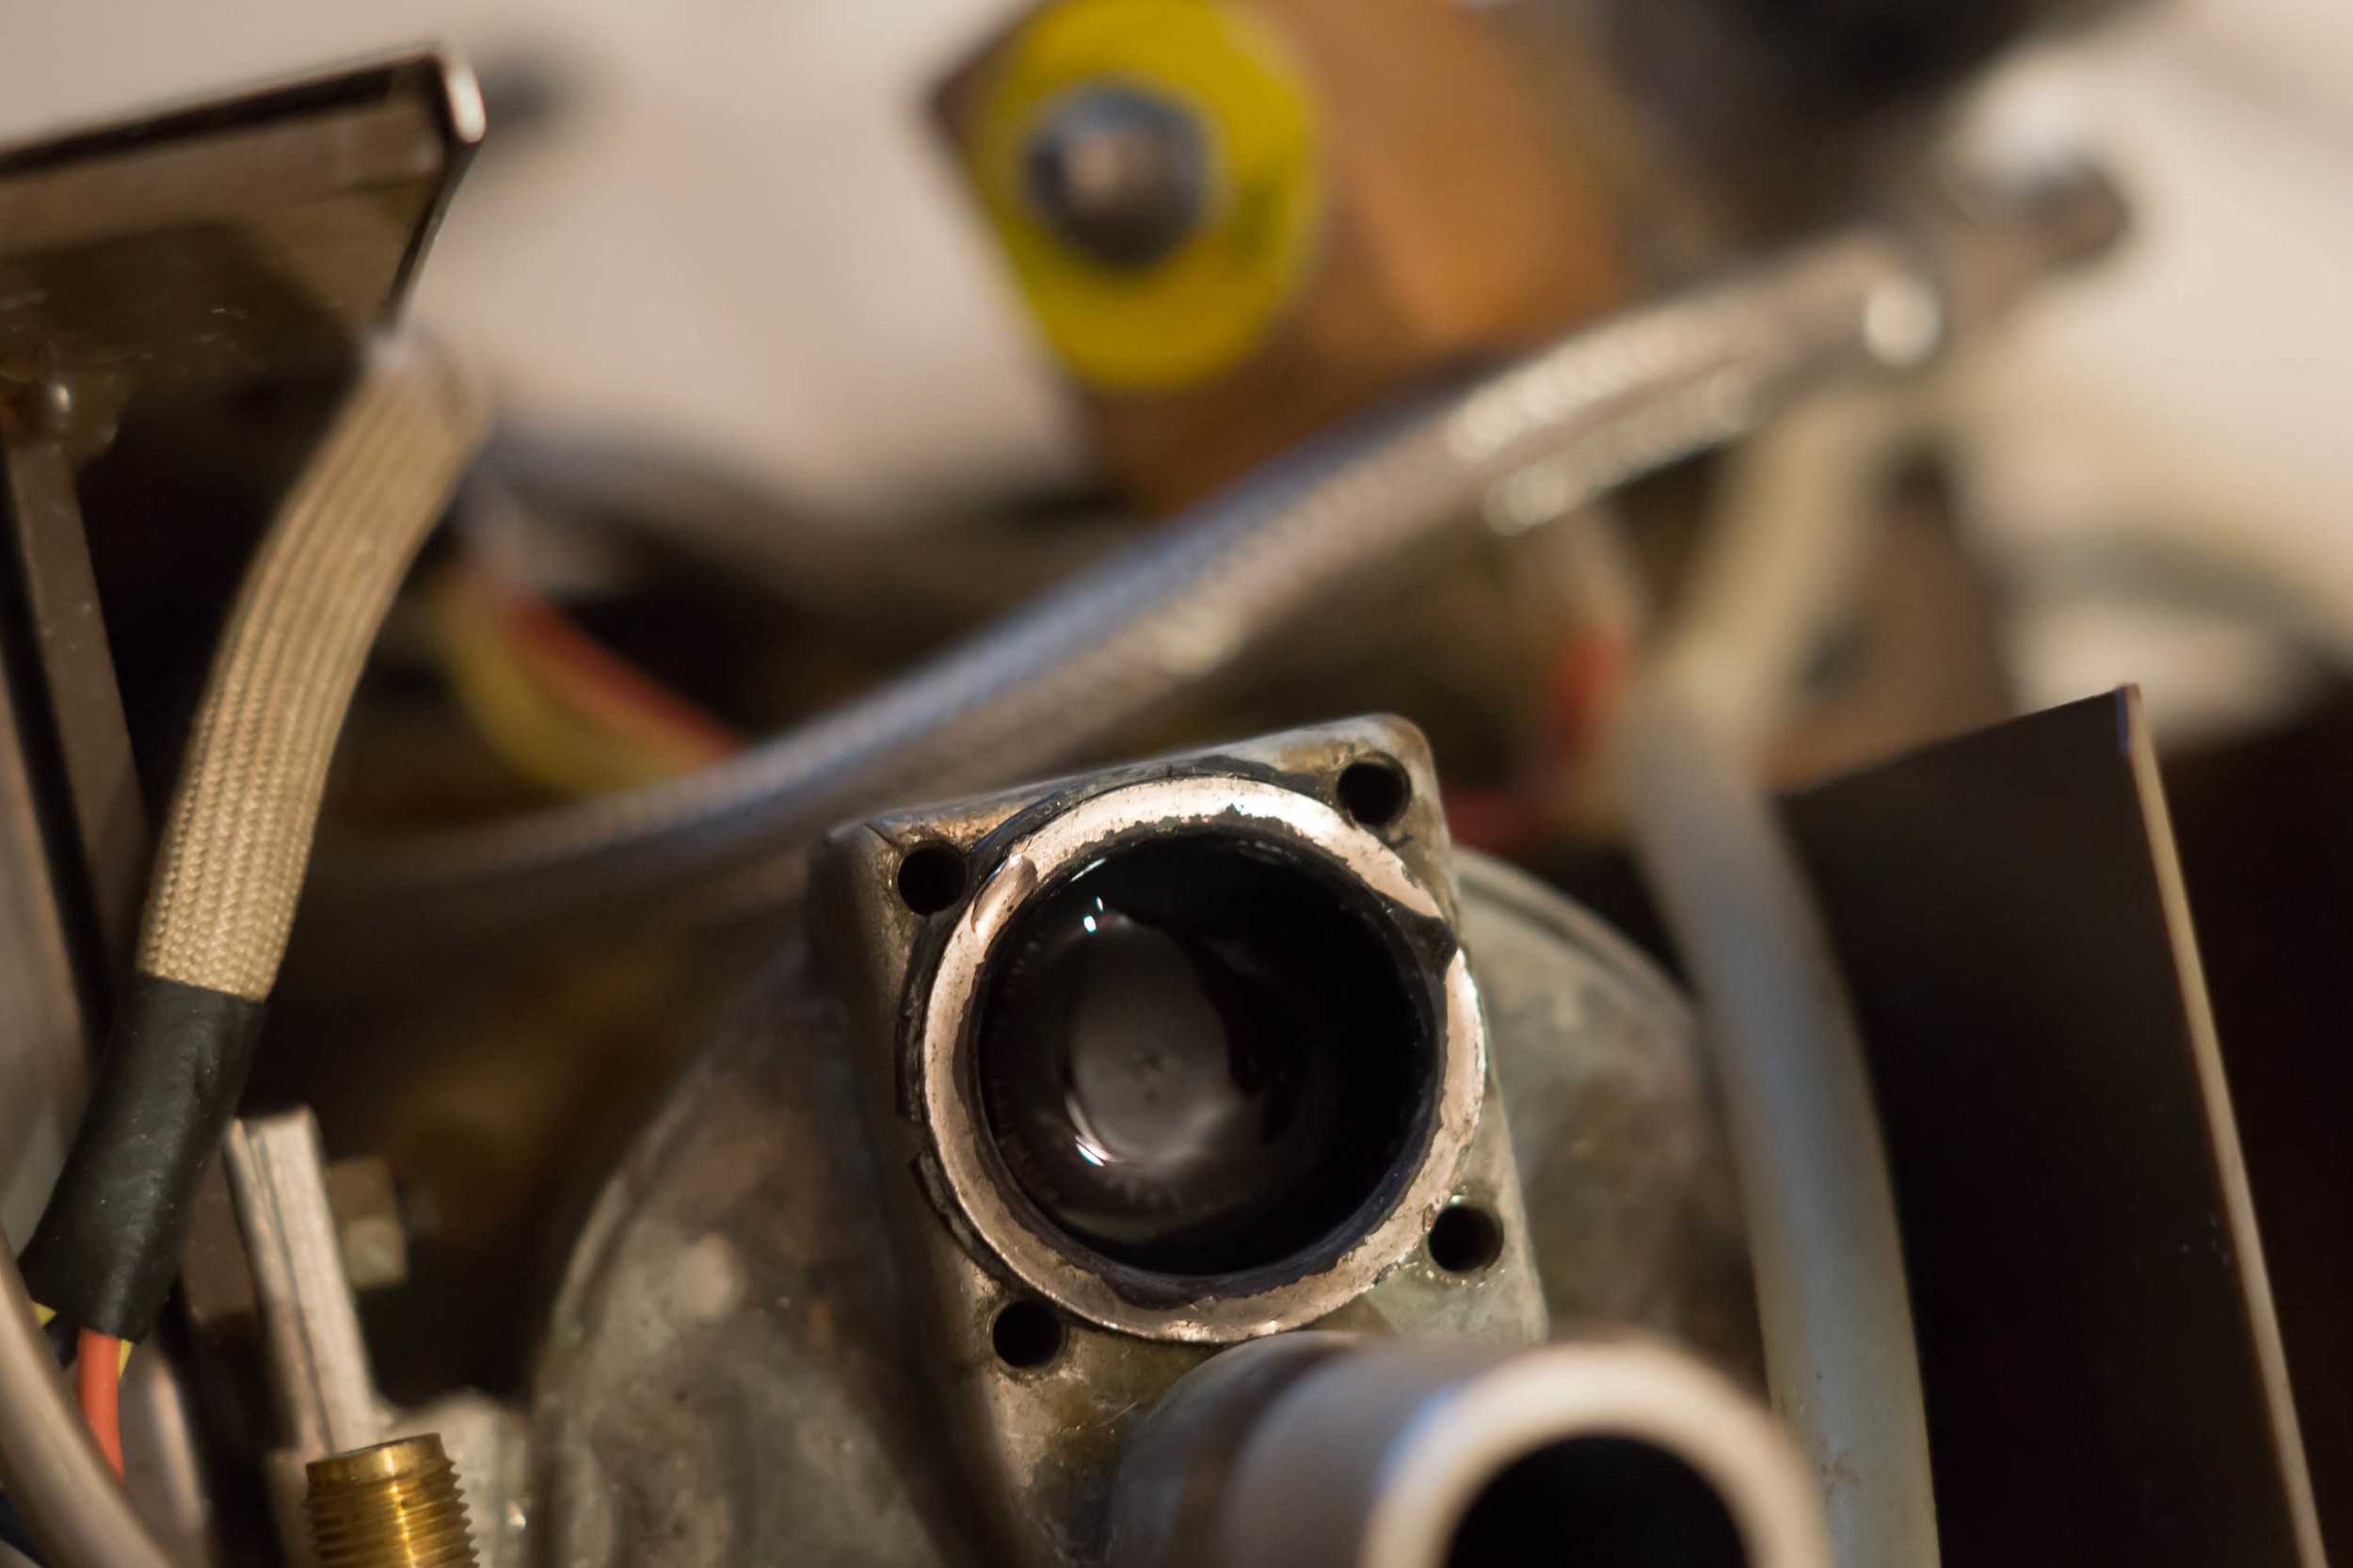
- Remove the existing gasket and any crud using the OE gasket tools.
- Fit the new gasket into the depression on the block and return it to its original position on the boiler. If your backflow drainage hose came undone like mine be sure to reattach it.
- Tighten the screws most of the way leaving some play in the block.
- Reattach this coupling and finish tightening the screws. You’re done.
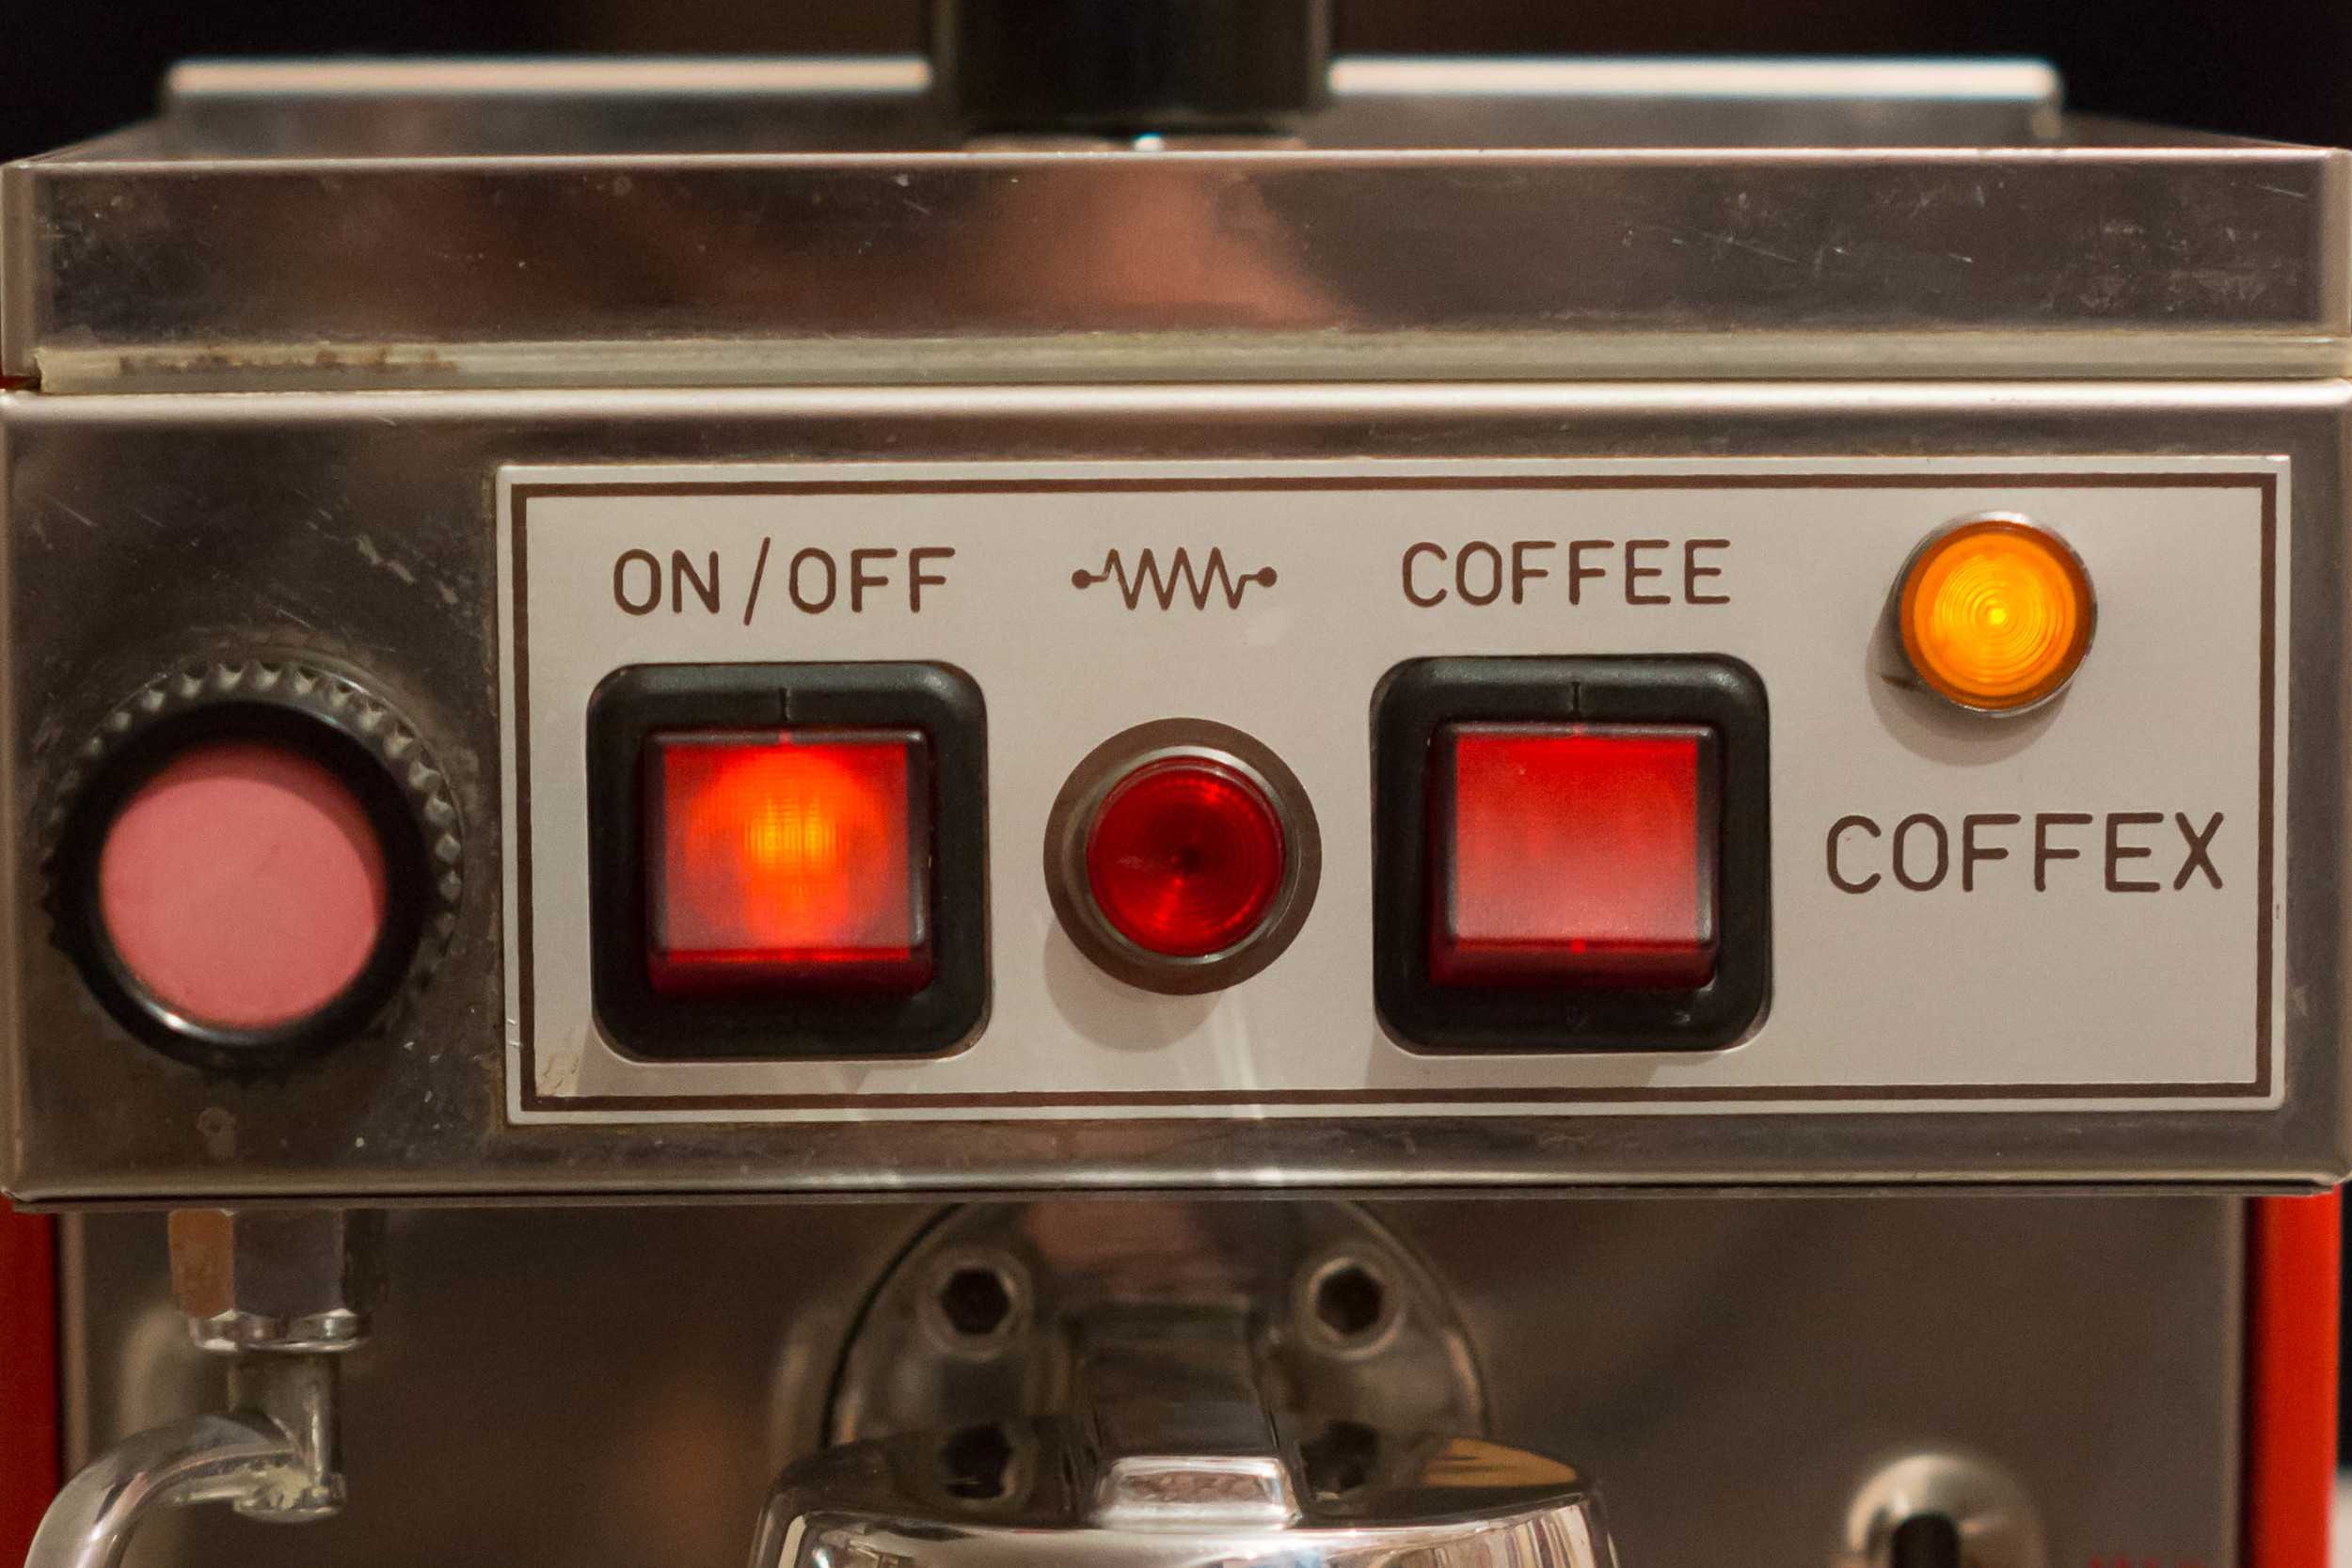
When the gaskets are replaced you’ll be able to turn on a newly watertight machine and enjoy your own steam.
Voila! I’m looking forward to experimenting with some espresso tomorrow.