Running Tools: Gmap-Pedometer
Gmap-Pedometer is a great tool for determining how long a route is in advance or finding the distance of a route after a run. I offer a quick tutorial to get you started mapping your own routes.
From Gmap-Pedometer’s home window, type your starting location into the search box. You’ll want to adjust the zoom to a comfortable level. This will give you a window not unlike the one below. (Click on any of images in this post to see a larger version.)
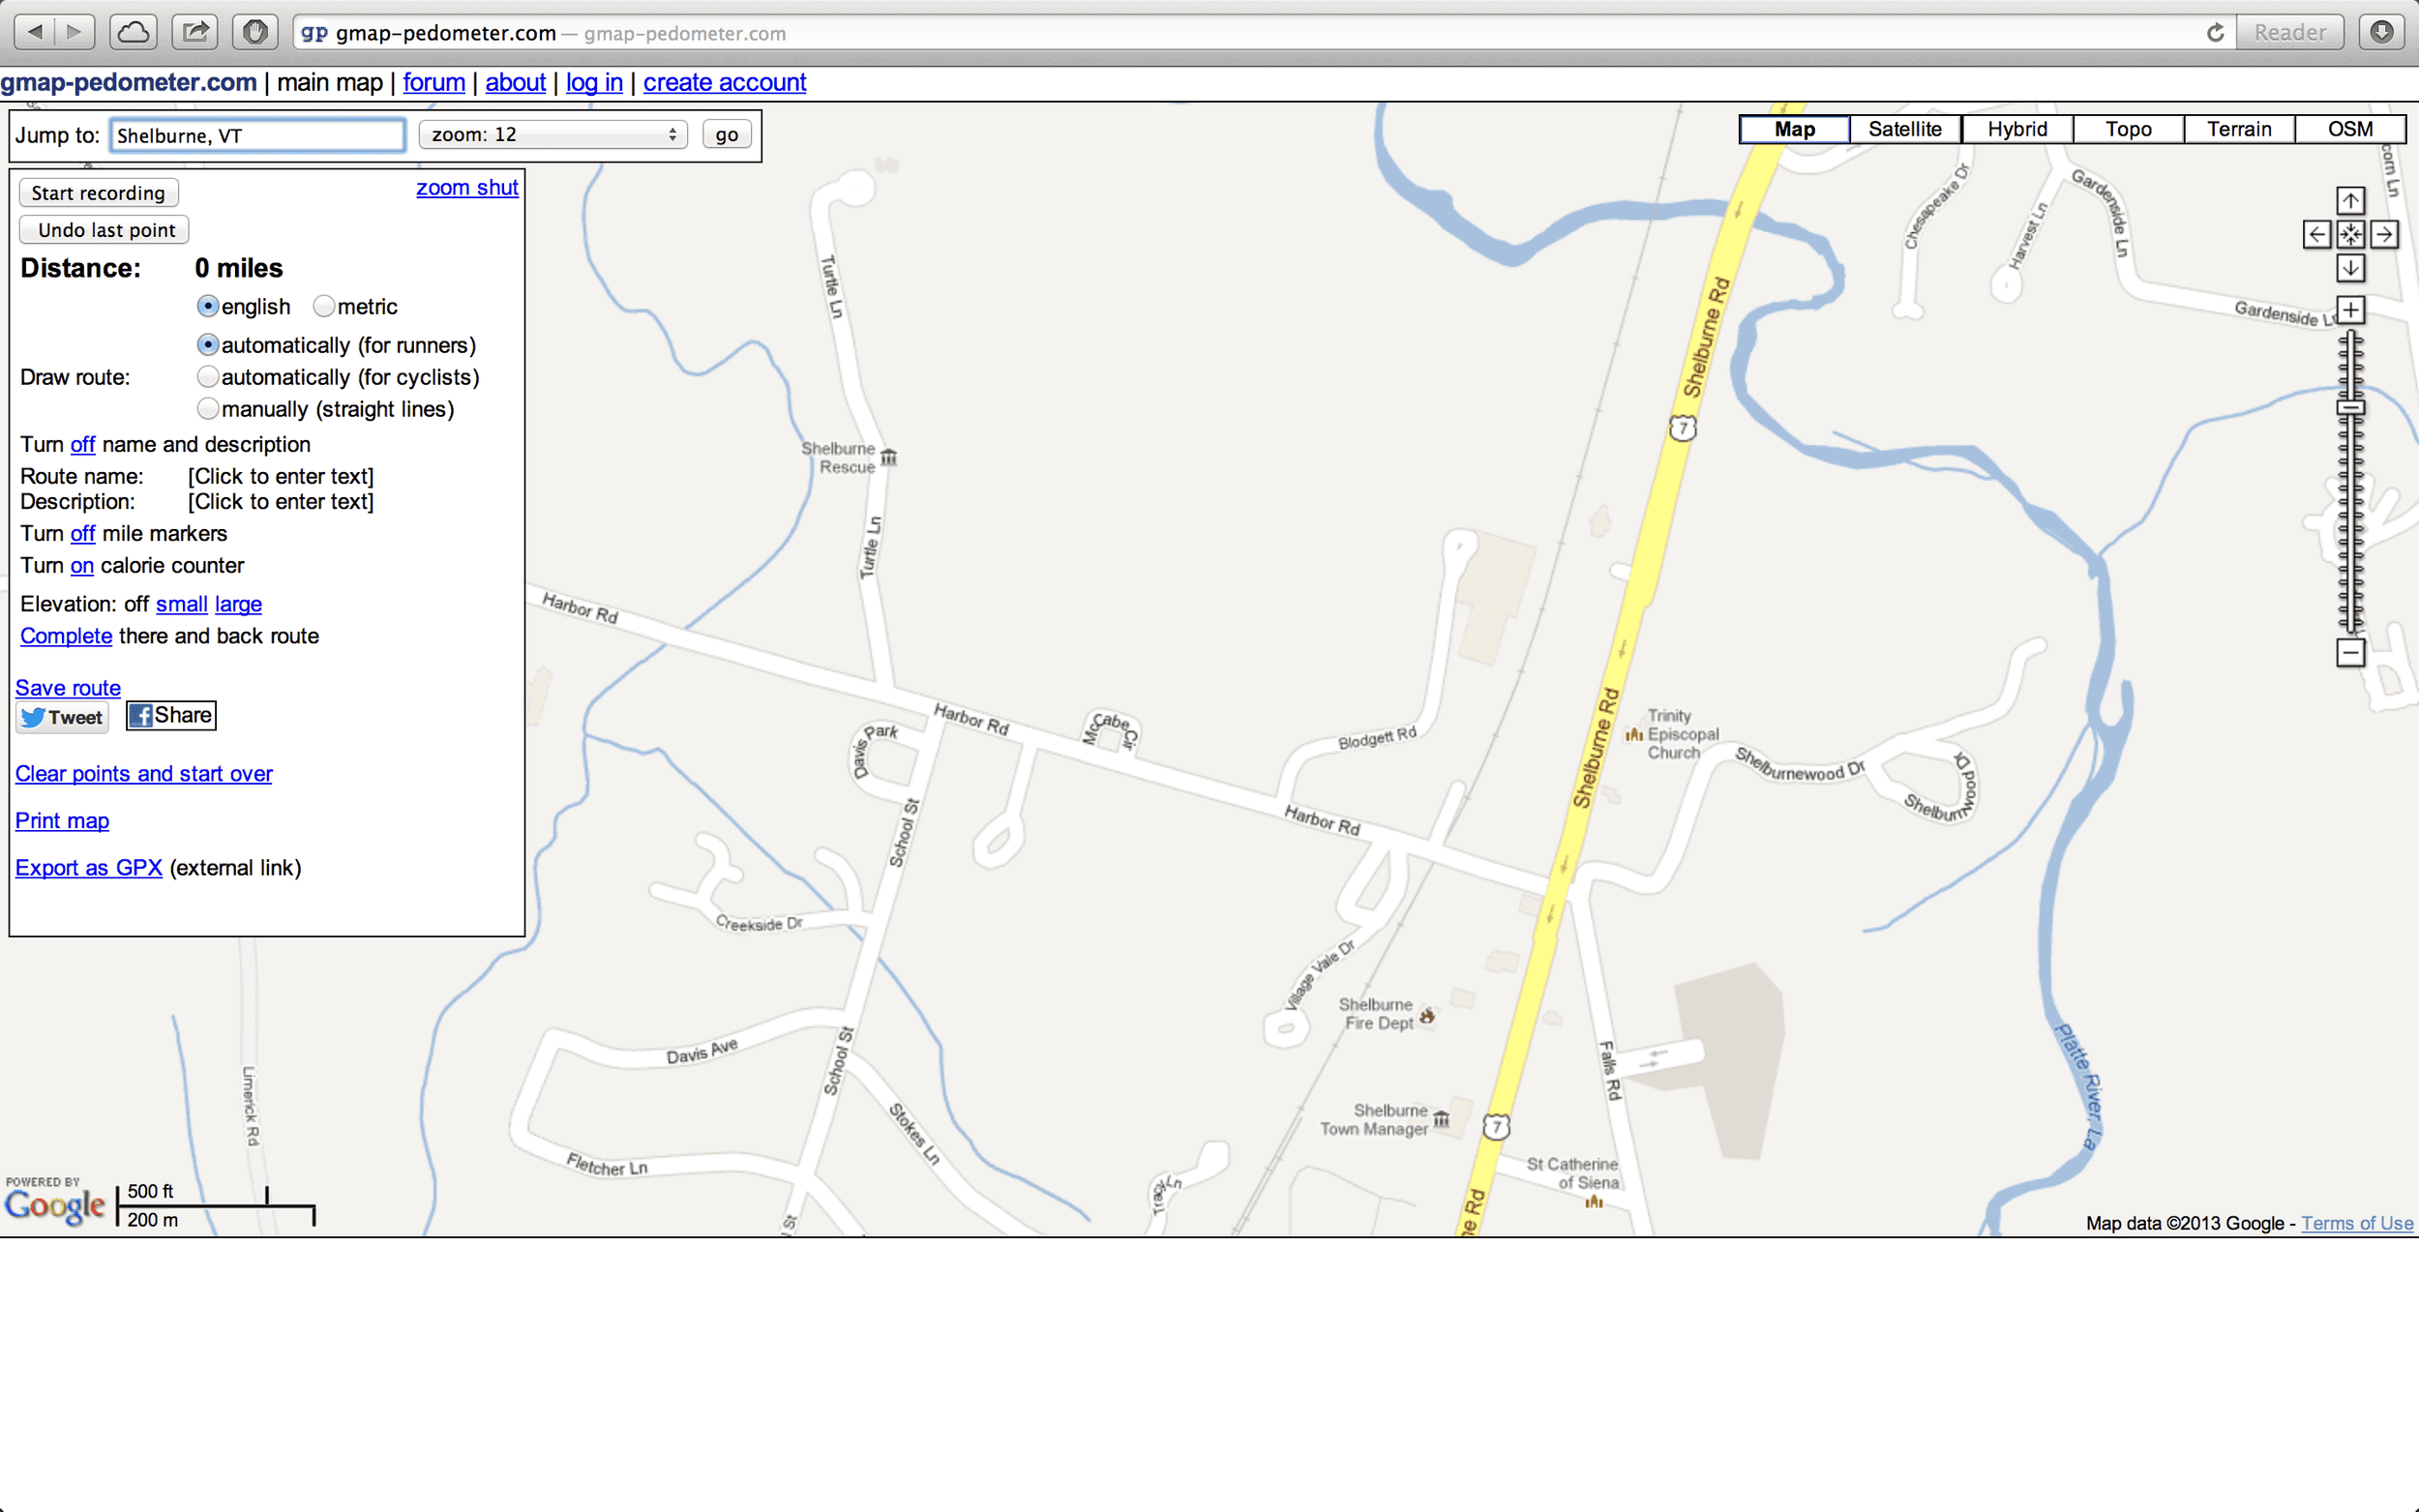
Gmap-Pedometer provides tracking options and information on the left, base map options at the top right, and zoom controls on the right. Be forewarned—scrolling will result in exuberant zooming.
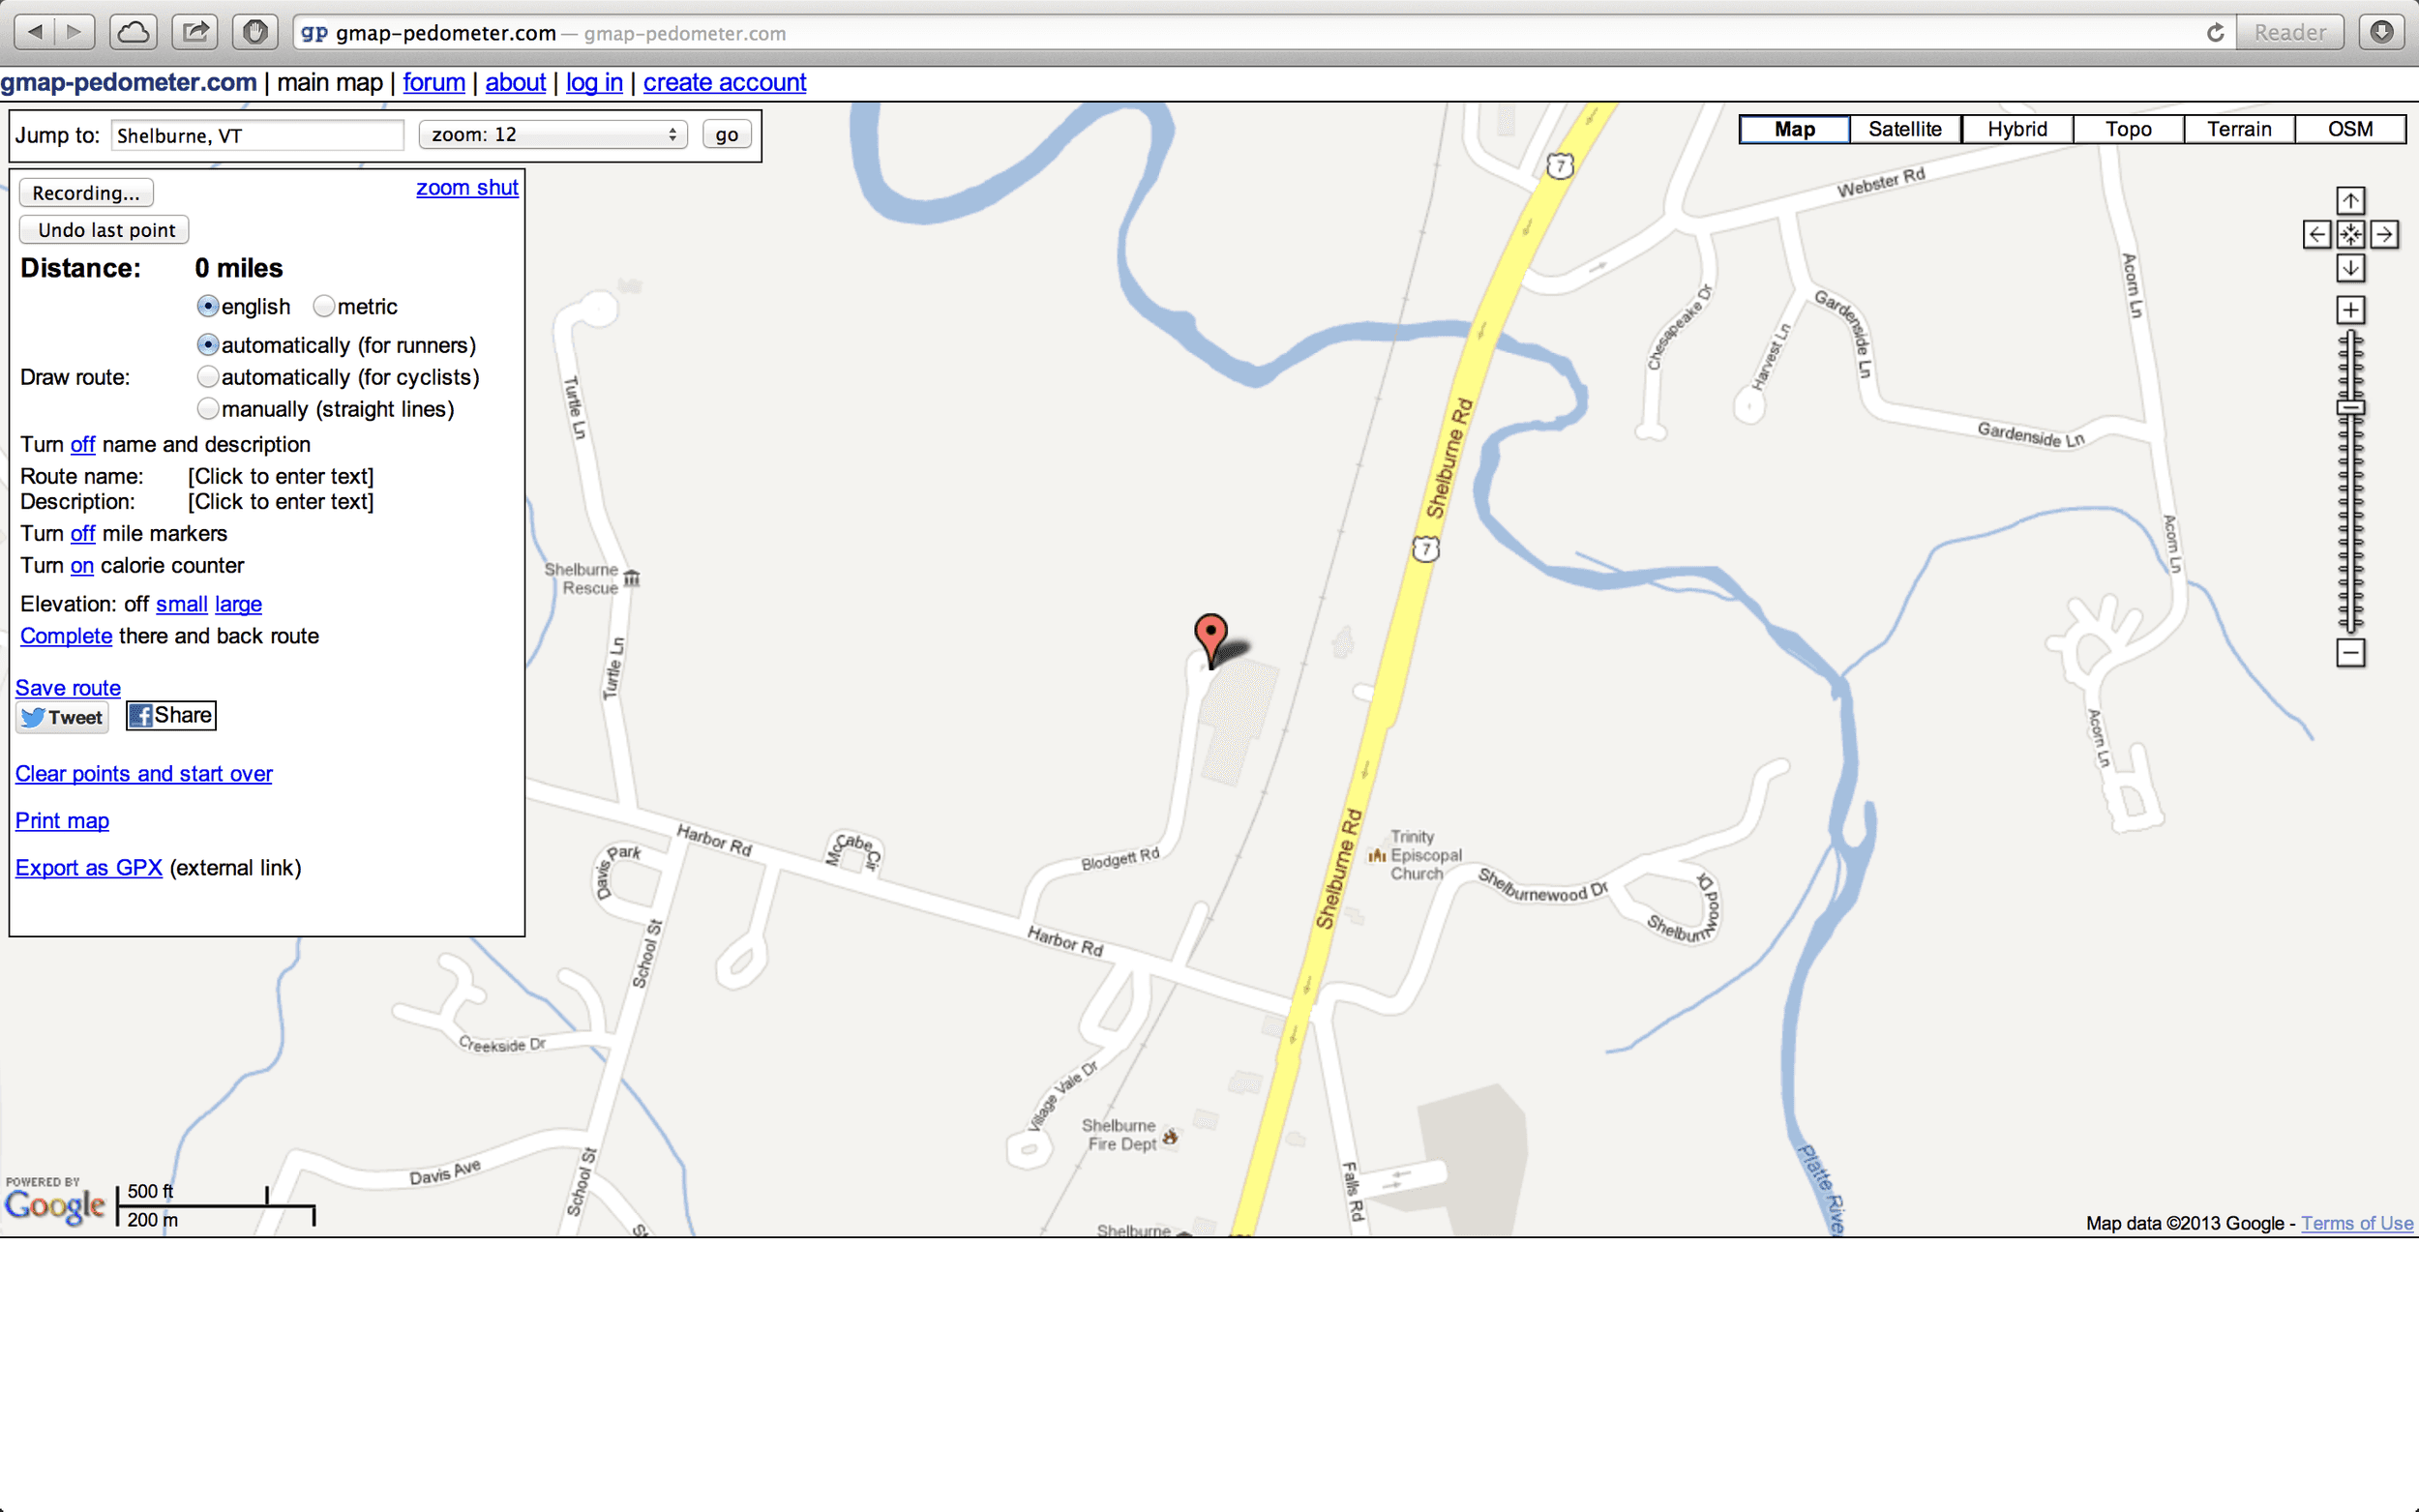
For this route we’ll head out Harbor Rd, follow the Ti-Haul trail, and then loop back along the road to our start point. The first step is to turn on recording. Click Start Recording at the top left of the tracking options. Now double click on the starting location.
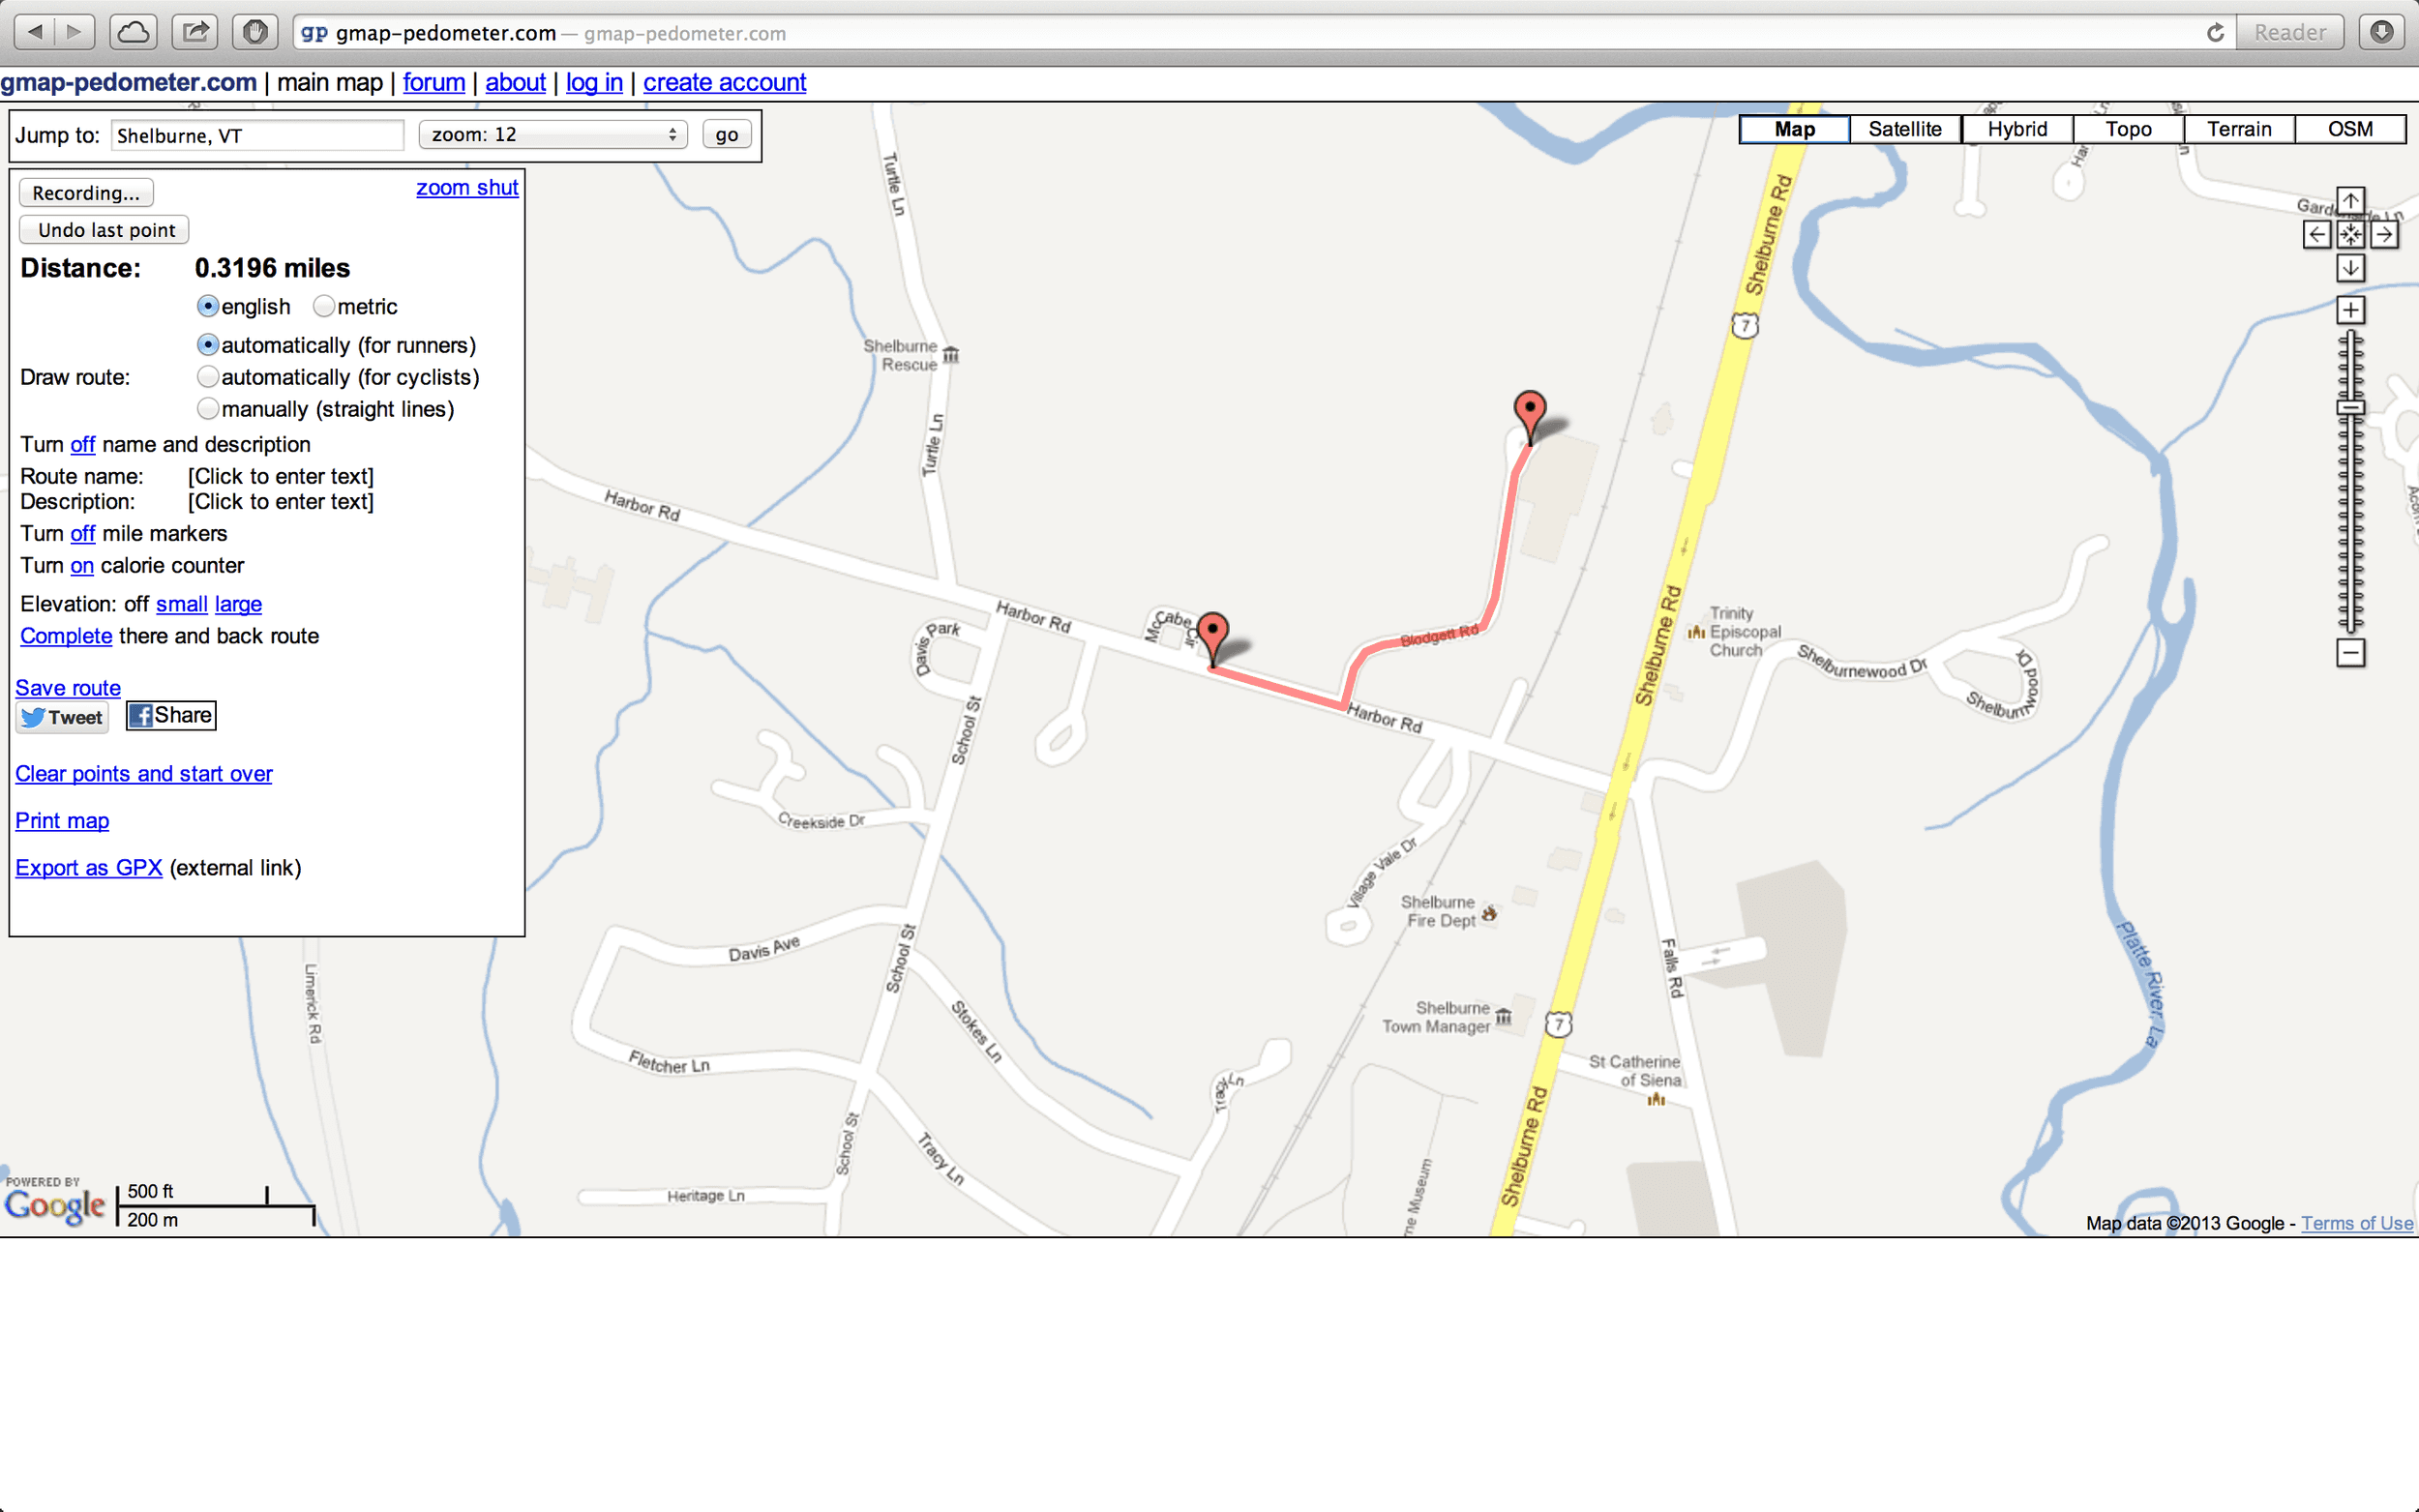
Since we’re recording, all we need to do to trace our route is to drop markers along the route. Double click further down Harbor Rd to drop another marker. Gmap-Pedometer will fill in the gap automatically.
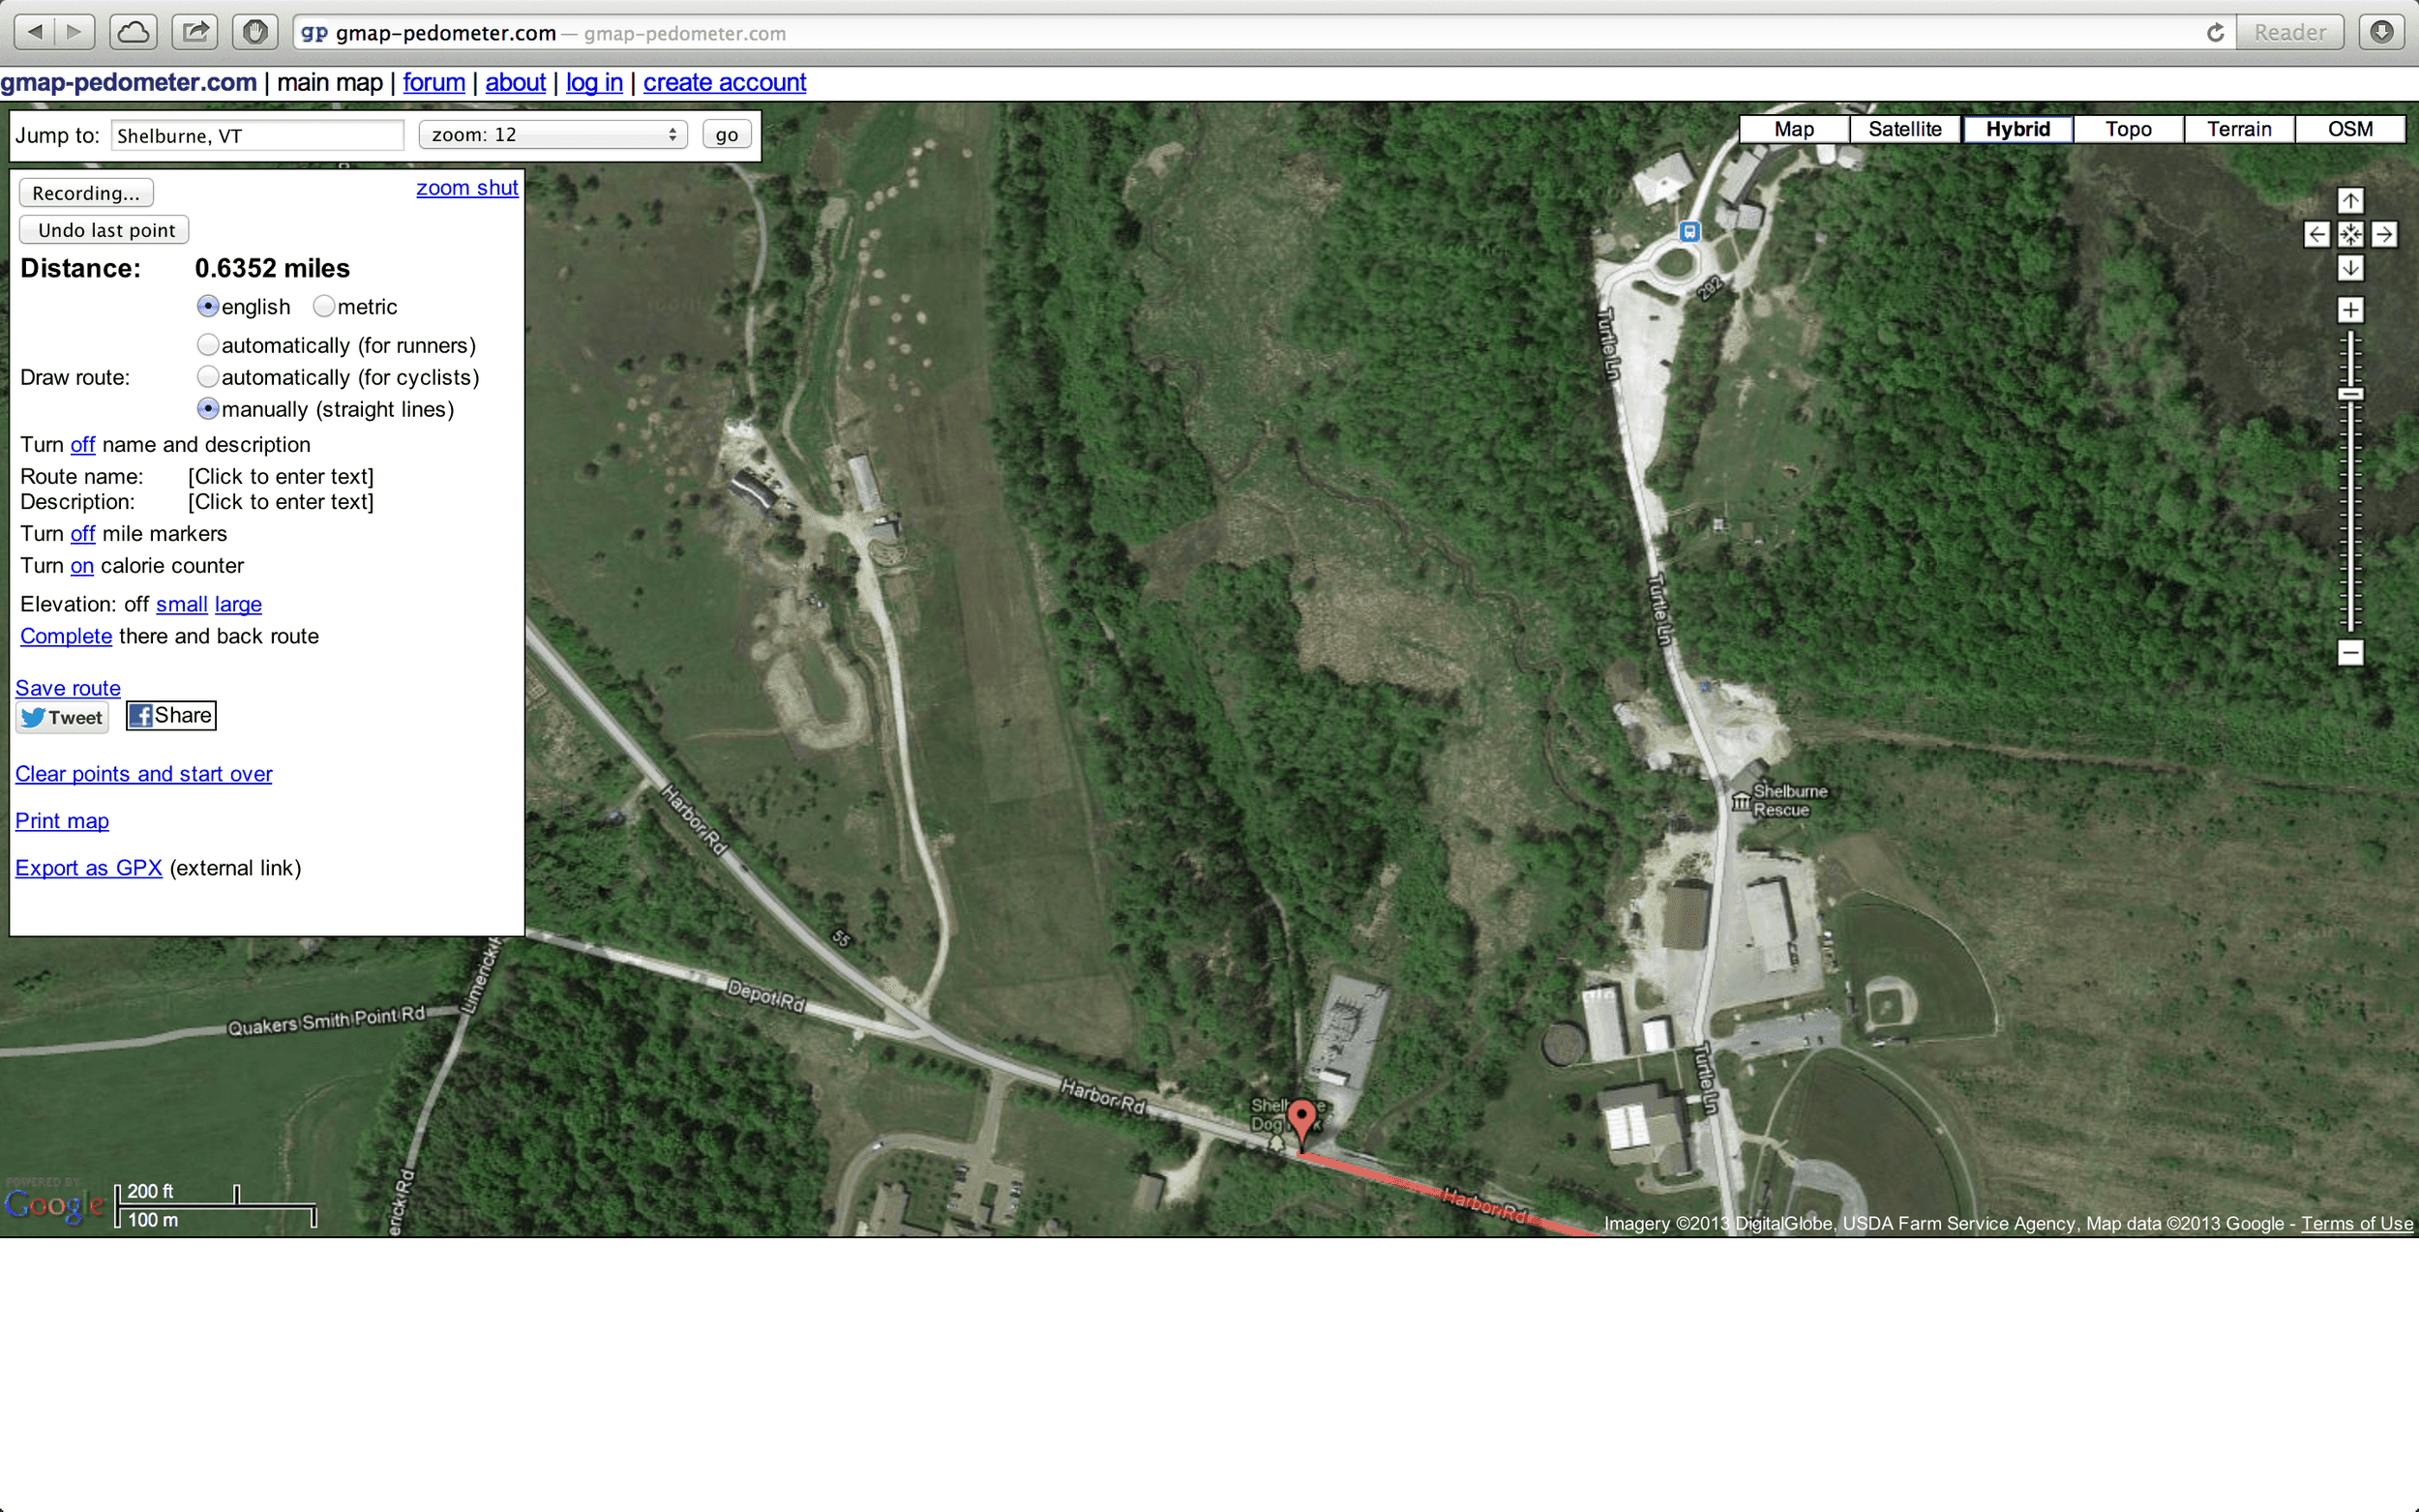
Now a bit further down Harbor Rd, at the beginning of the trail off Harbor Rd. The trail is not visible on the standard map, so we need to switch the base map. Choose Satellite from the map controls on the right. Now the trail is visible, but Gmap-Pedometer does not know about the trail’s route. We need to switch our tracking mode so we can tell Gmap-Pedometer how to follow this route. Select Manually (straight lines) from the tracking options on the left. Gmap Pedometer will no longer fill in the gaps between our markers using roads, so we’ll need to place more markers to ensure our traced line follows the trail. If you don’t like your intial result from placing a marker, click Undo last point in the tracking options pane.
After following the trail through to the other side, we can switch back to the standard basemap by selecting Map from the top right and Automatically (for runners) from the tracking options. Gmap-Pedometer will complete the course with us placing a few markers, yielding our finished course.
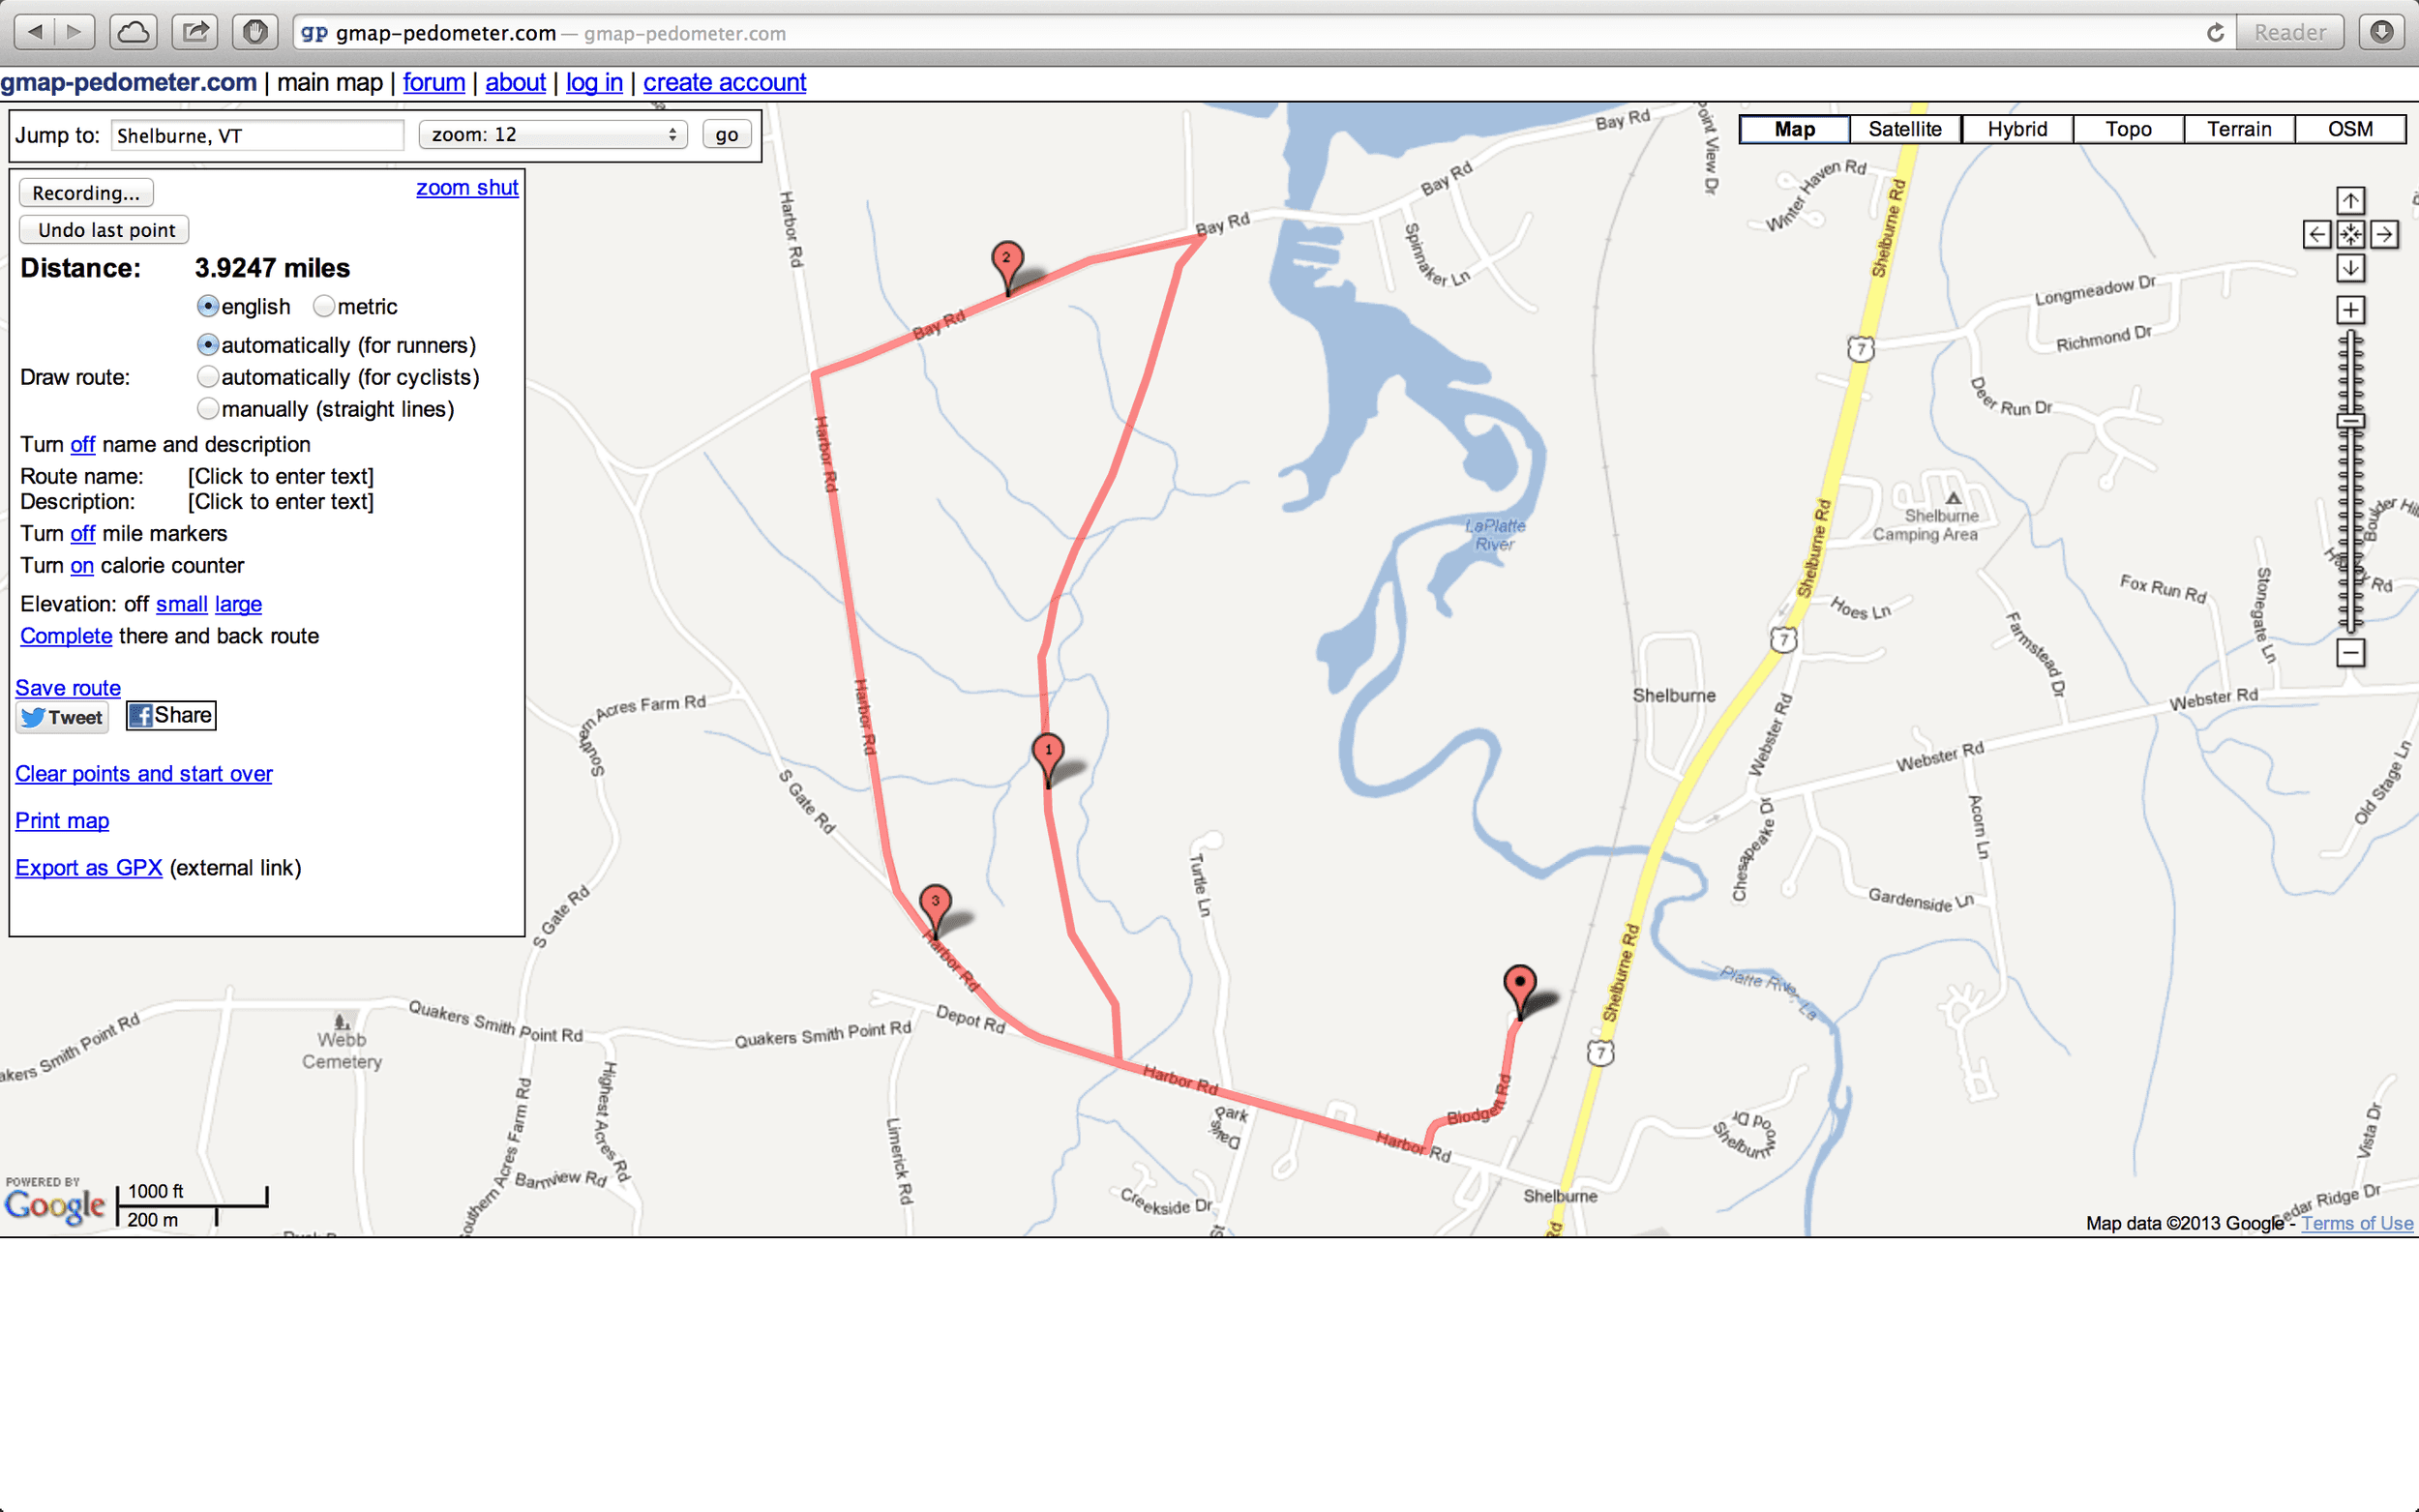
Now that we have finished our route we can see that it is almost four miles. We now have a couple of choices of what to do with our route. We can share this route by using the Save route link on the left and copying the given URL. We can examine elevation by toggling Elevation to Small or Large.
Voila. We’ve recorded our route using Gmap-Pedometer. It’s a great tool to use before or after a run and Google’s satellite imagery is great for finding the driveway, sign, or fence you turned around at. If you’re interested, the demo route can be found here.